A Quick Guide to Perusall 1.3
*Note* The interface and features of Perusall may change over time without much advance notice. Please check out their ‘Changelog‘ for updates, improvements, and fixes.
Starting with the fall 2023 semester, a new version of Perusall (v. 1.3) is available in Lyceum. Perusall resources added to Lyceum before fall 2023 do not work with the new version and need to be imported for re-use.
The upgrade mainly affects how Lyceum and Perusall interoperate. One of the improvements is that you no longer have to create individual links in Lyceum for each assignment, and students no longer have to access Perusall assignments from specific corresponding links in Lyceum. Now you create one link to Perusall and then create the assignments in Perusall.
Perusall can be added to your Lyceum course by the “Add an activity or resource” menu.
Adding Perusall as an Activity
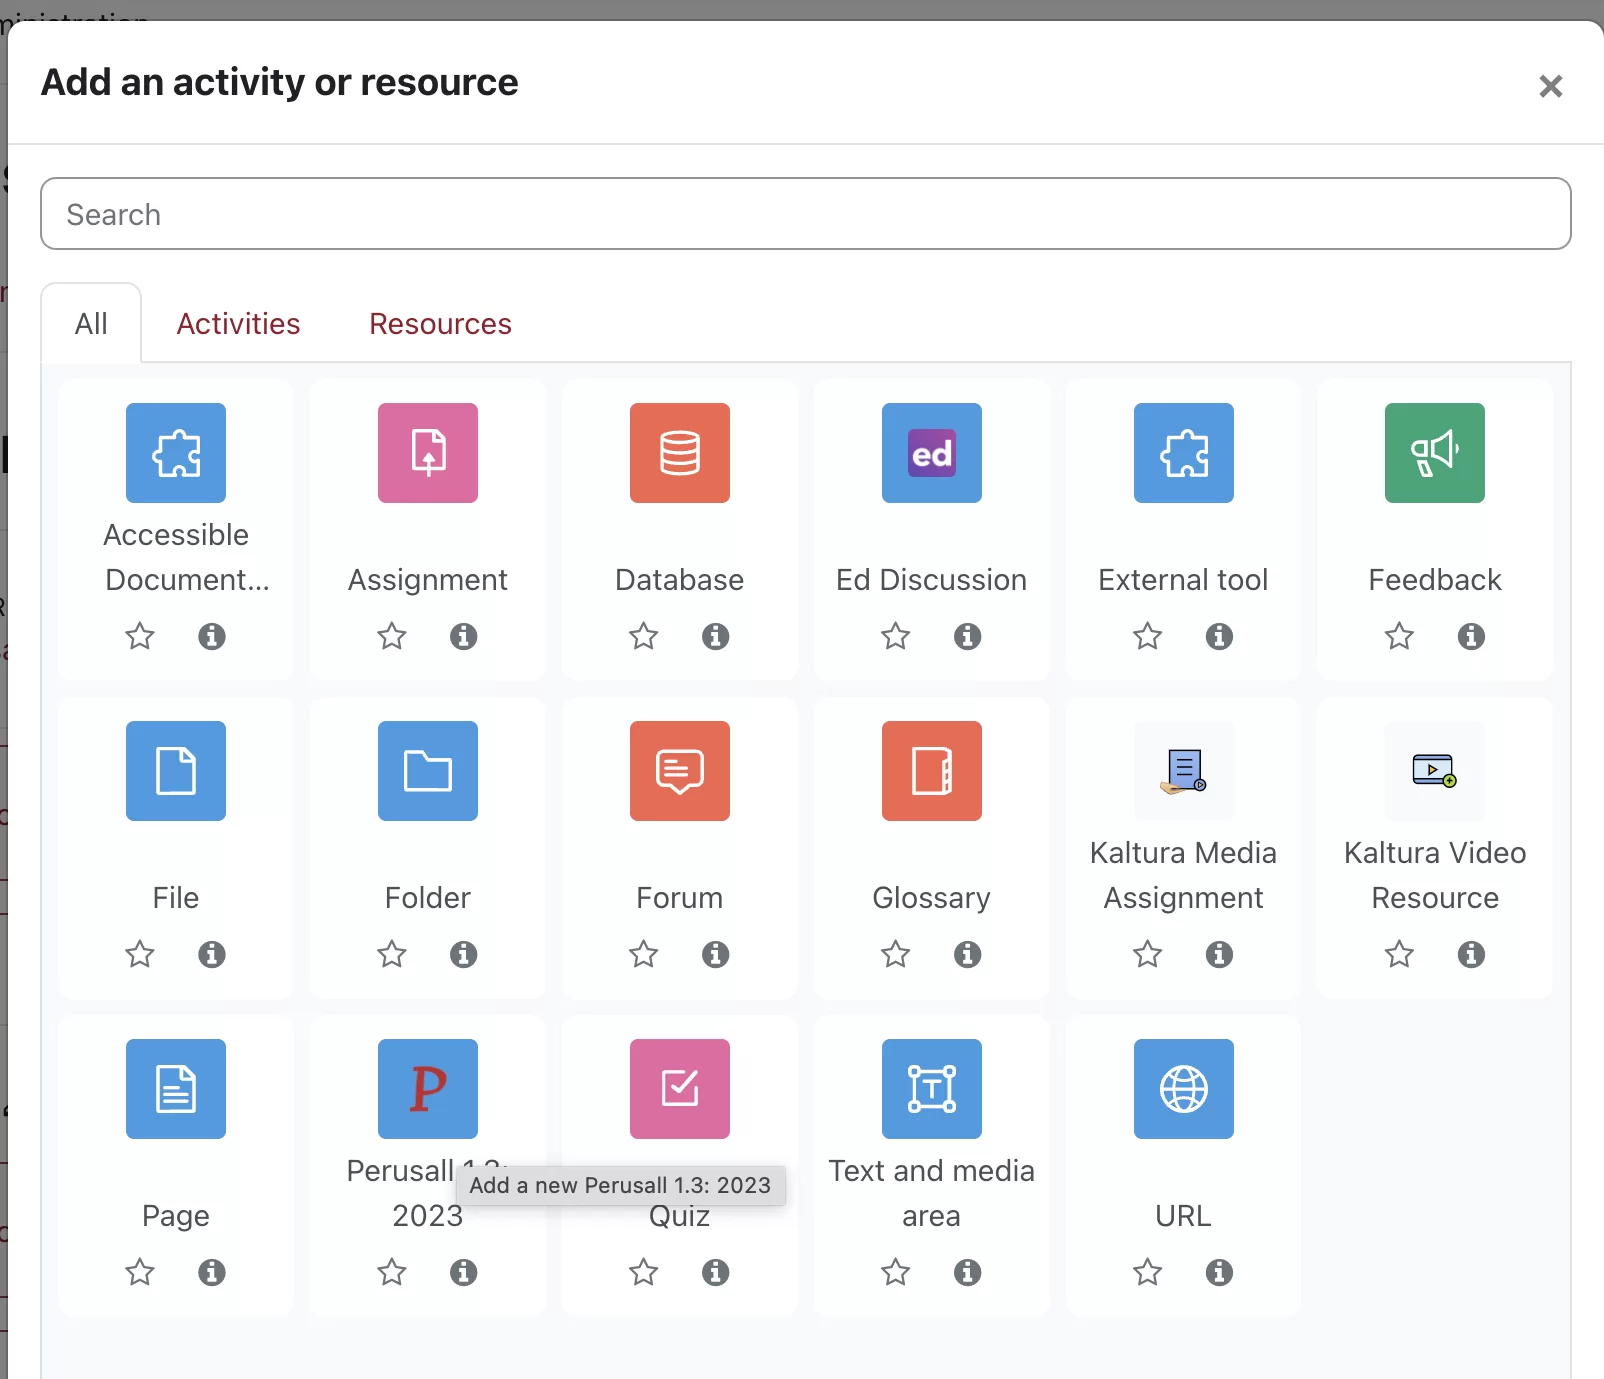
From your course home page, enable “Edit mode” and decide where you’d like to place your Perusall link. Then select the “Add an activity or resource” link associated with that location. From the “Add an activity or resource” menu, select the “Perusall 1.3: 2023” activity:
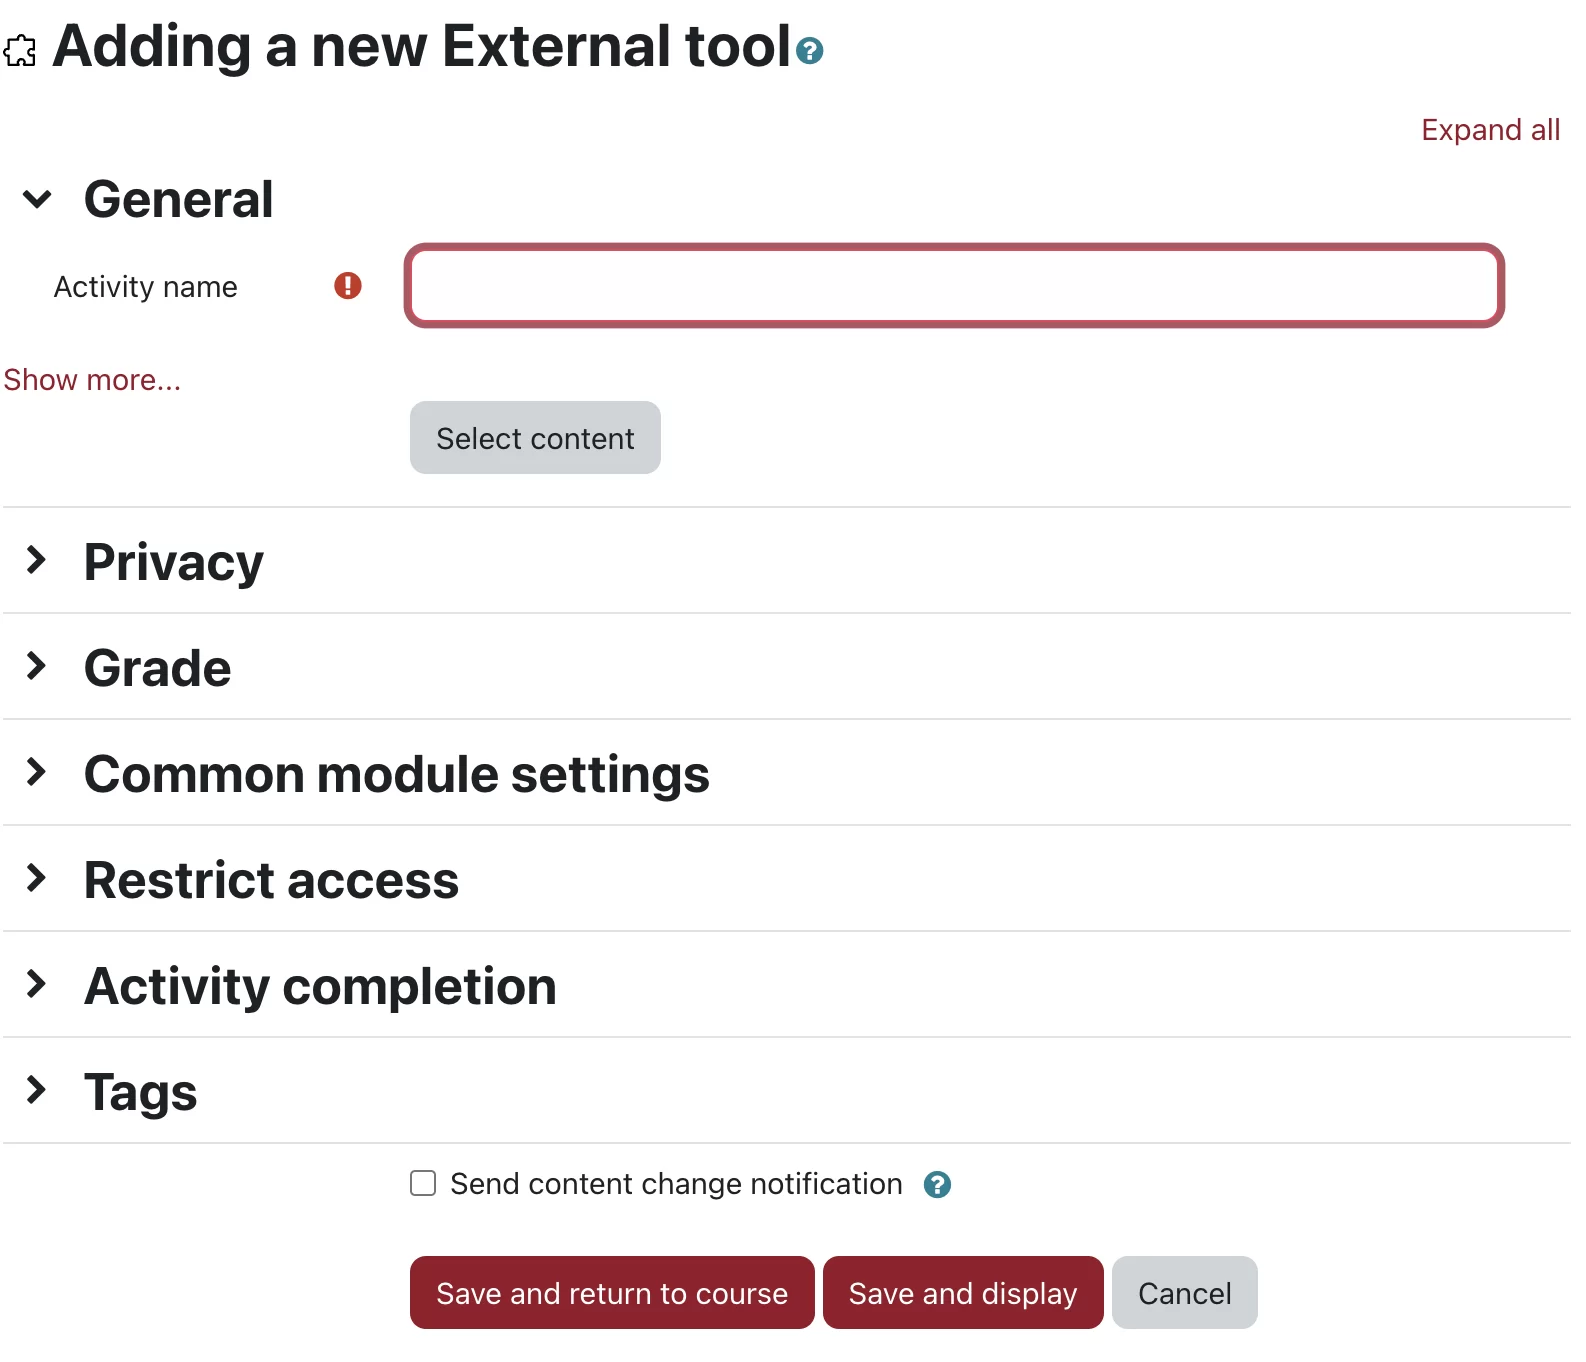
At the “Adding a new External tool” form, provide an “Activity name” and then select “Save and return to course:”
Logging into Perusall Faculty
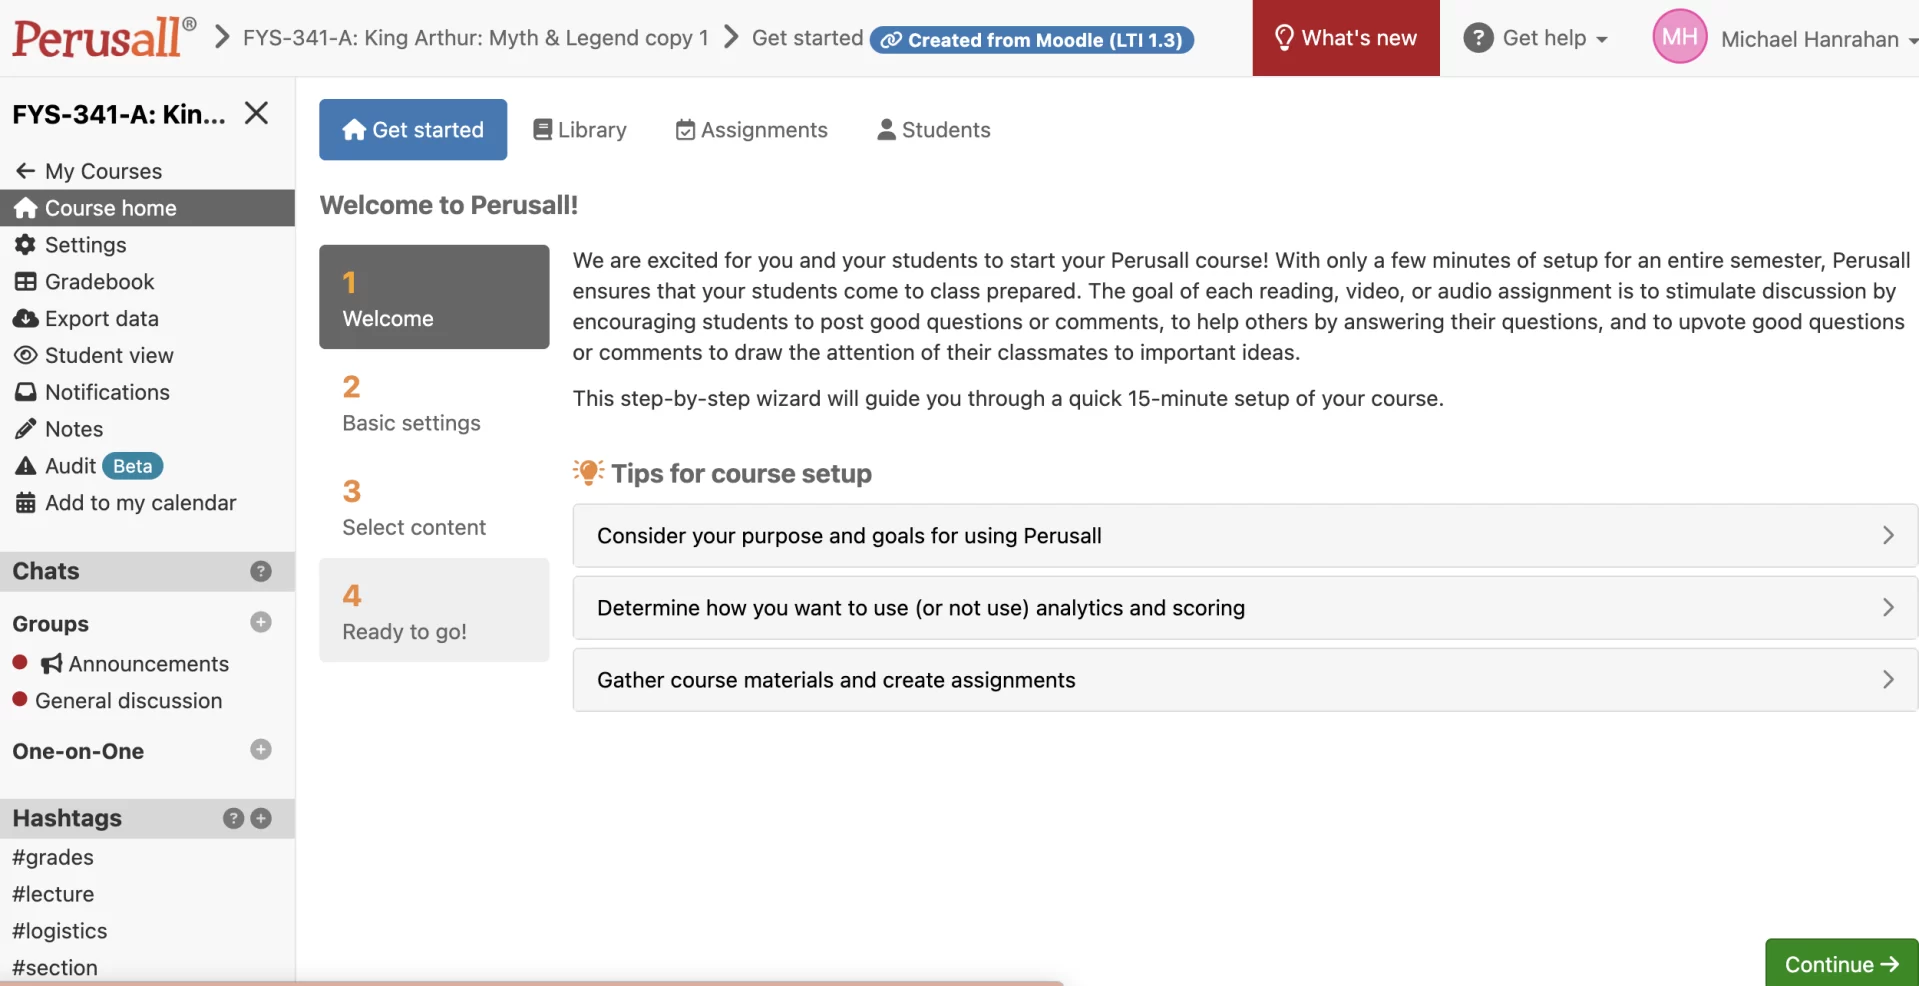
After creating the Perusall link in your course, select it to gain access to Perusall:

The link will direct you to the Perusall “Welcome” page. Select “Continue”:
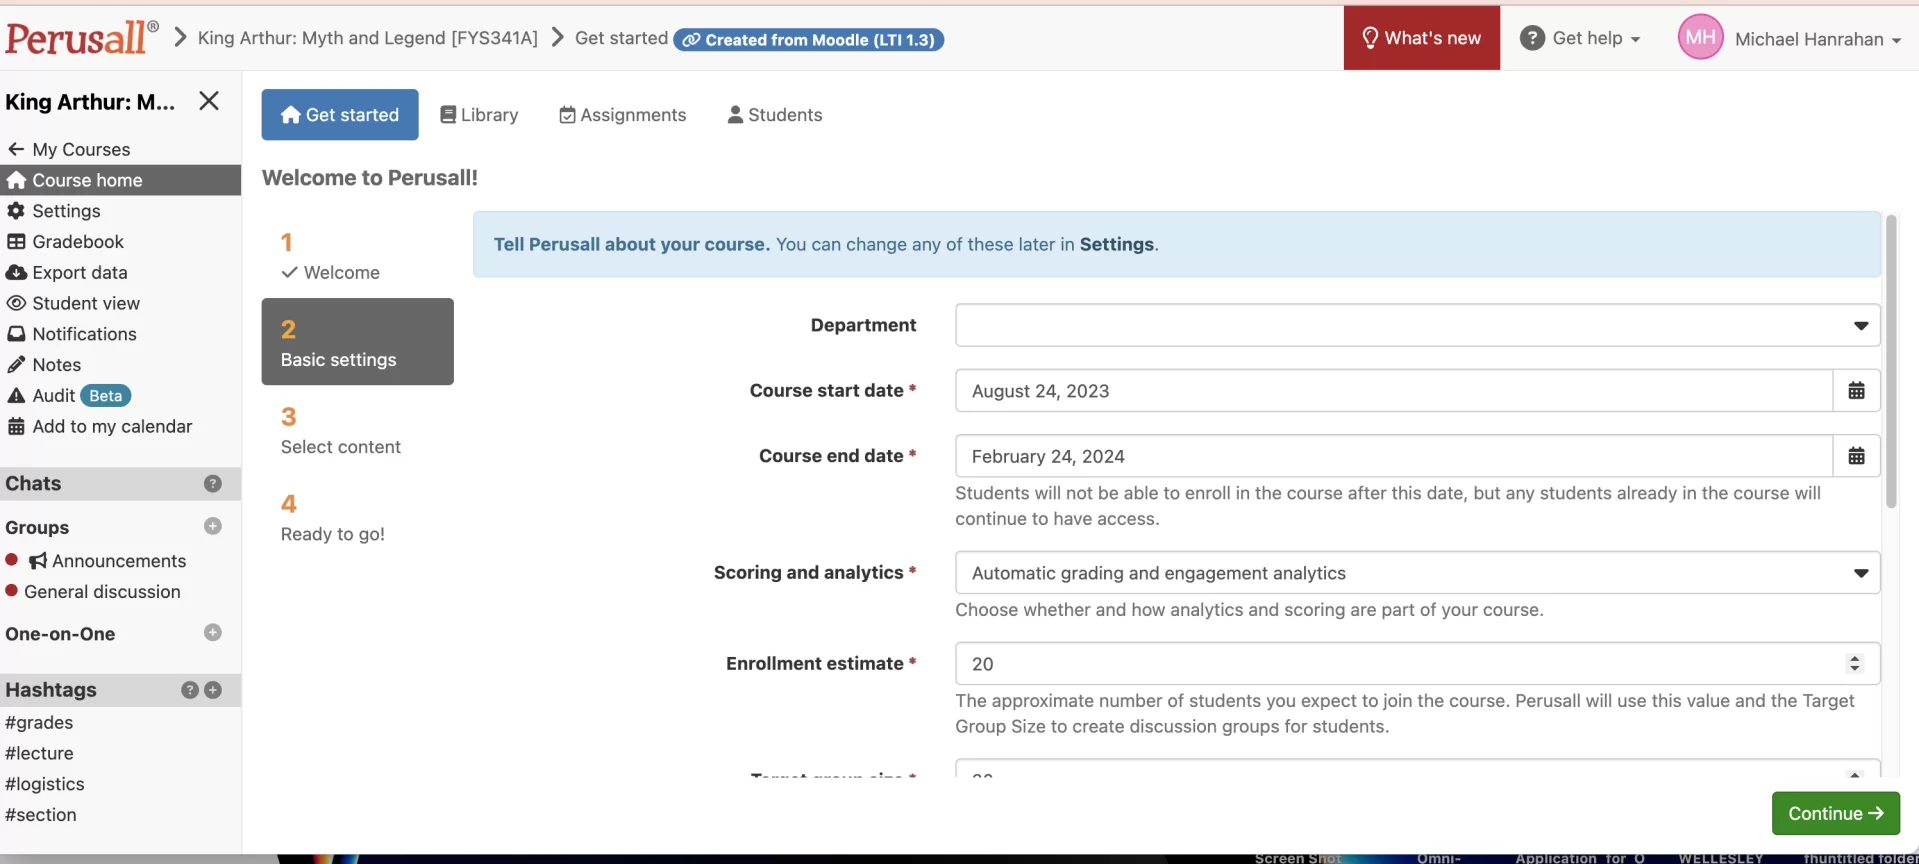
Accept the default settings at the “Basic settings” page and click “Continue”:
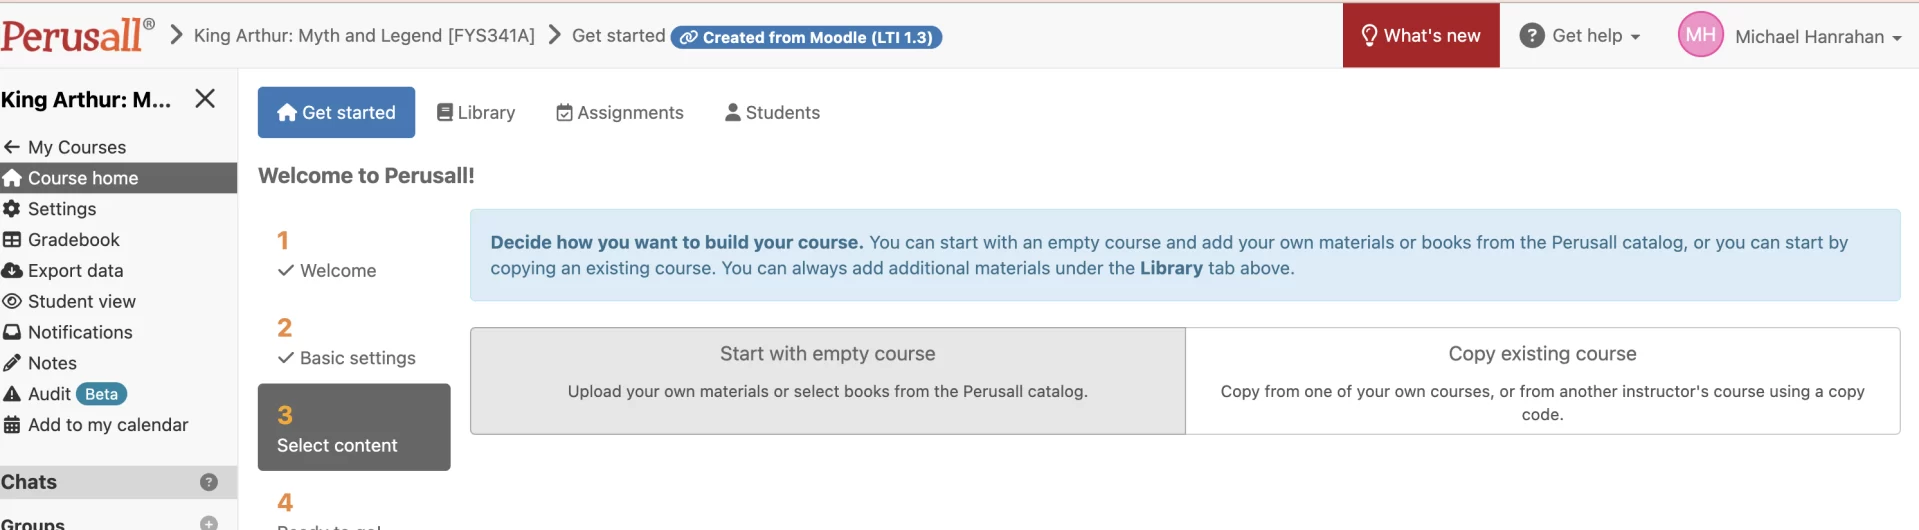
At the “Select content” page, then choose “Start with empty course”:
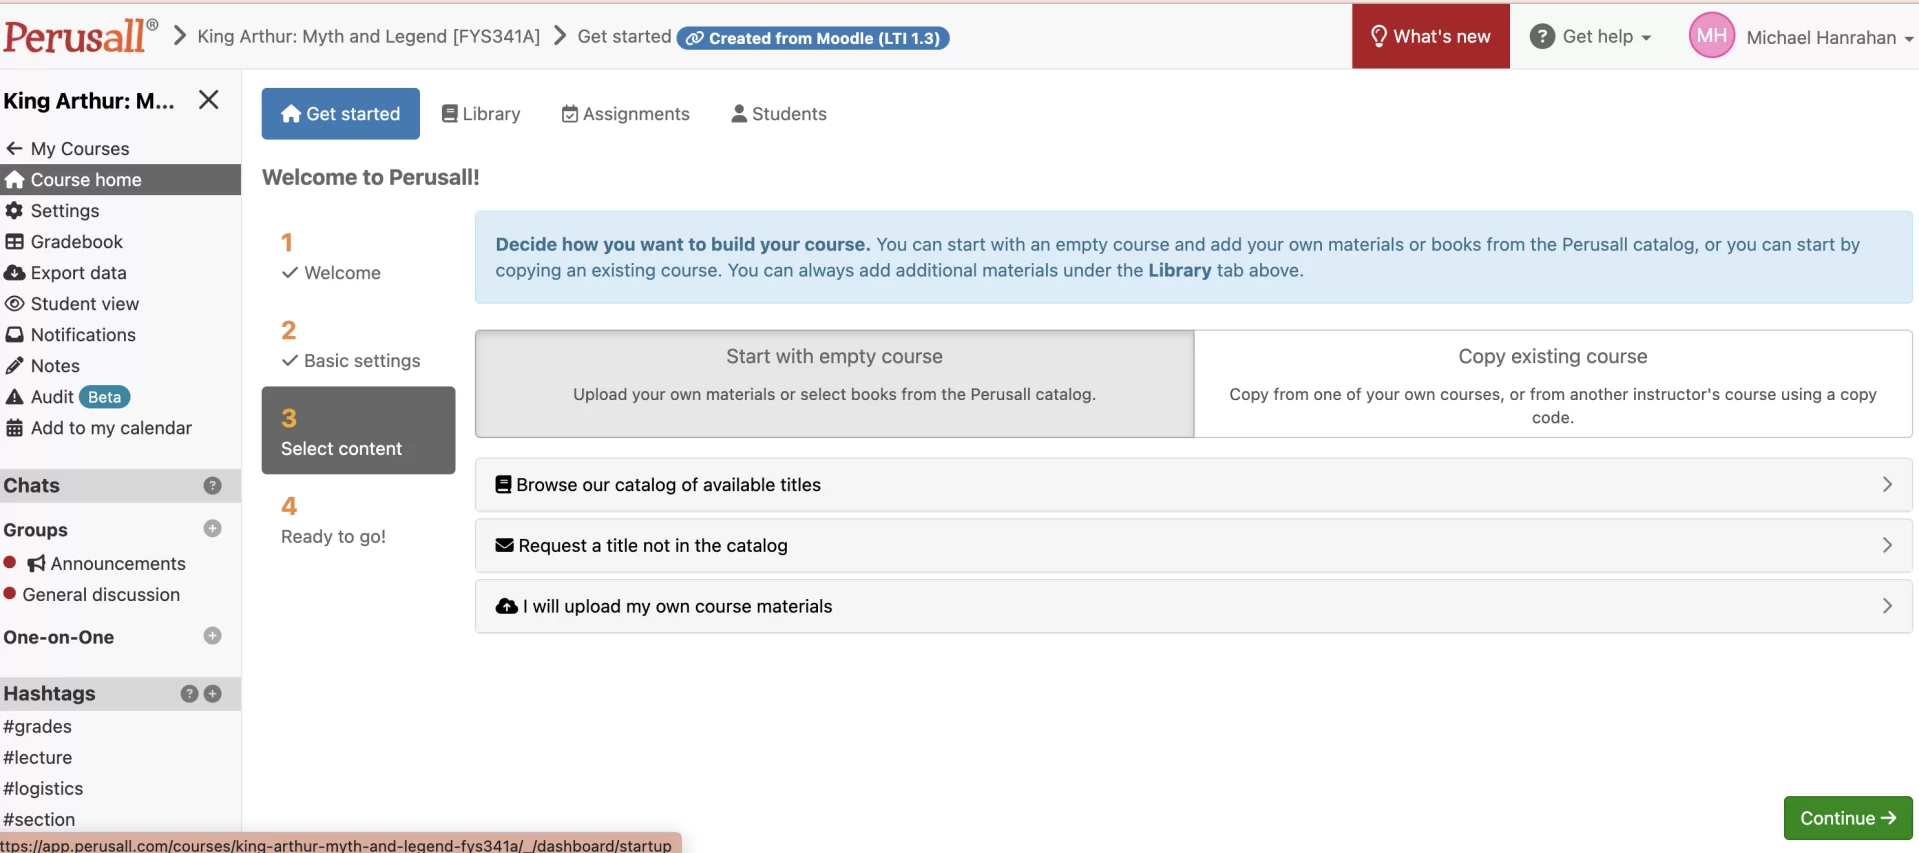
Choose “I will upload my own course materials” (to prepare to add files of readings) and select “Continue”:
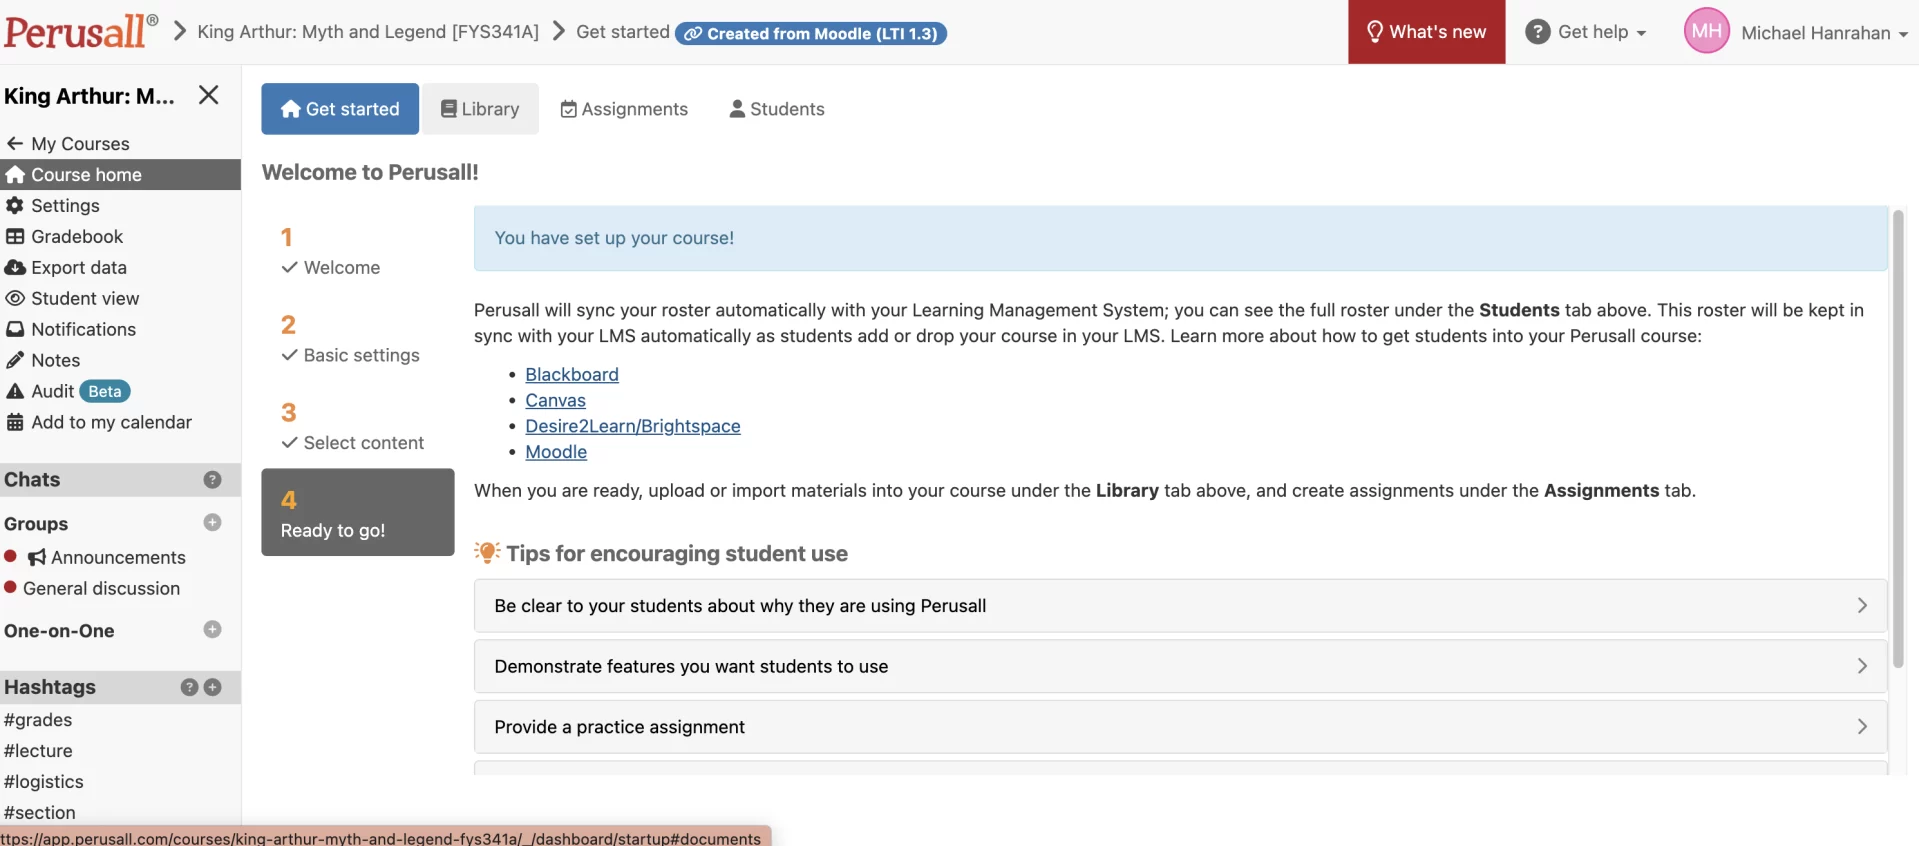
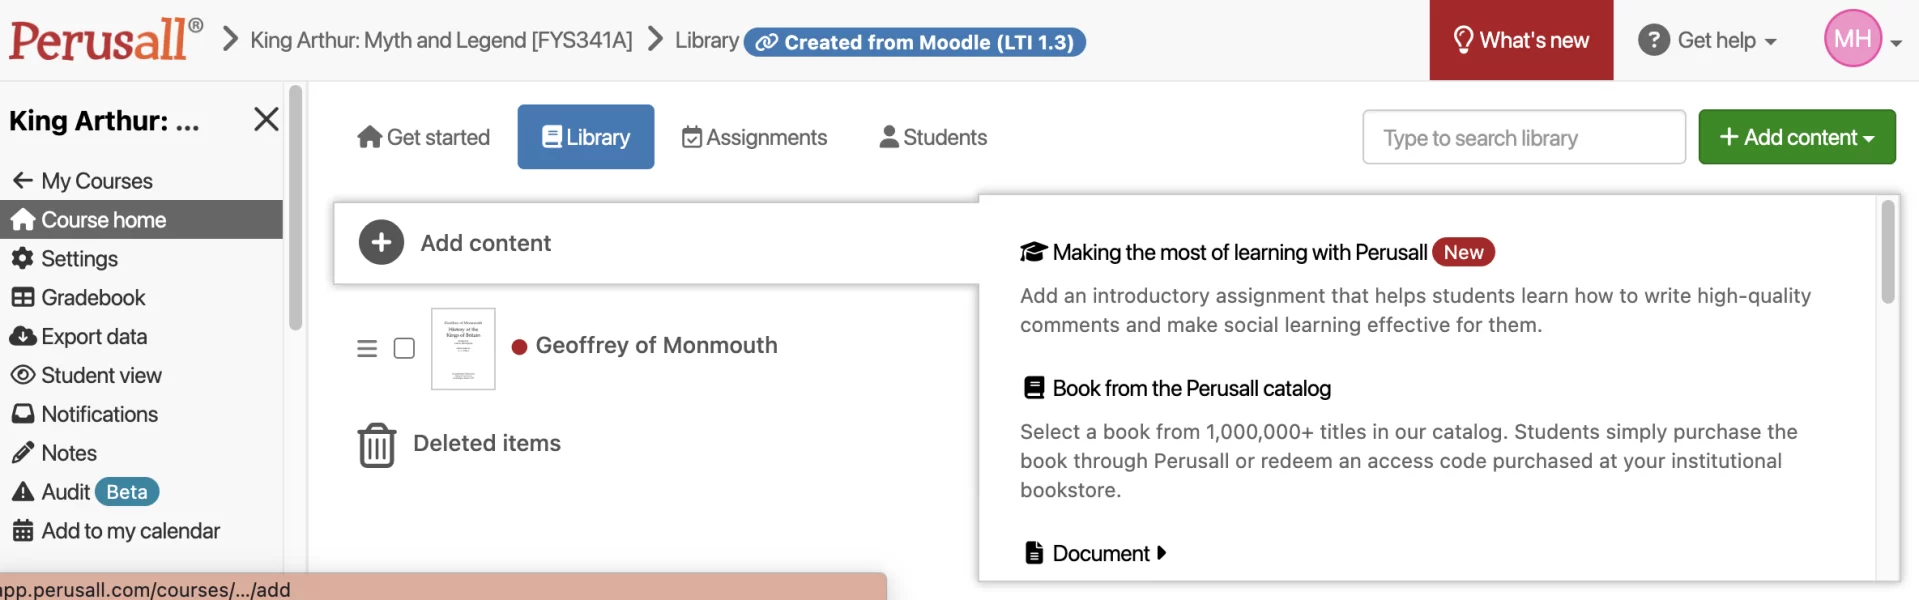
At the “Ready to go!” screen, you’ve completed setting up your course. Select “Library” tab next to the “Get Started” tab:
Adding Content
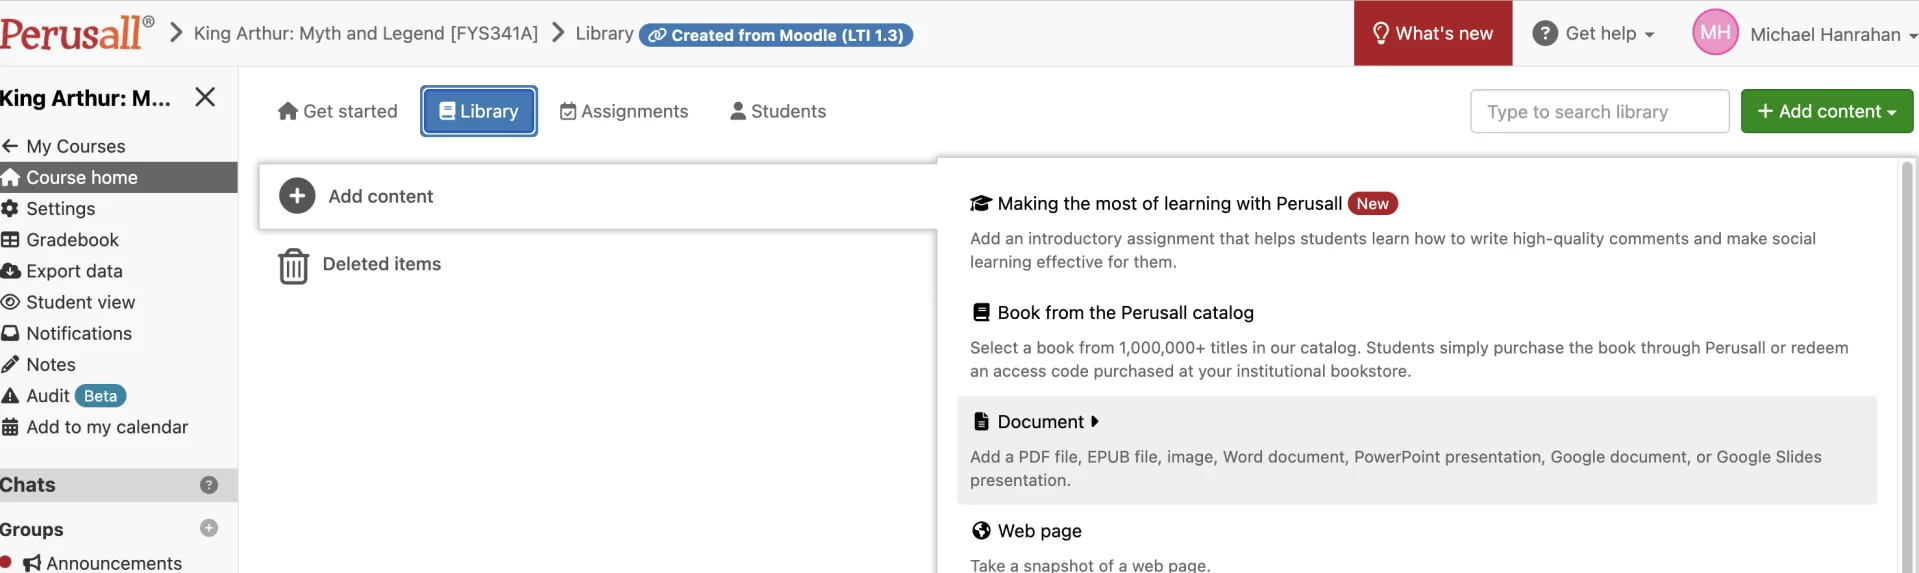
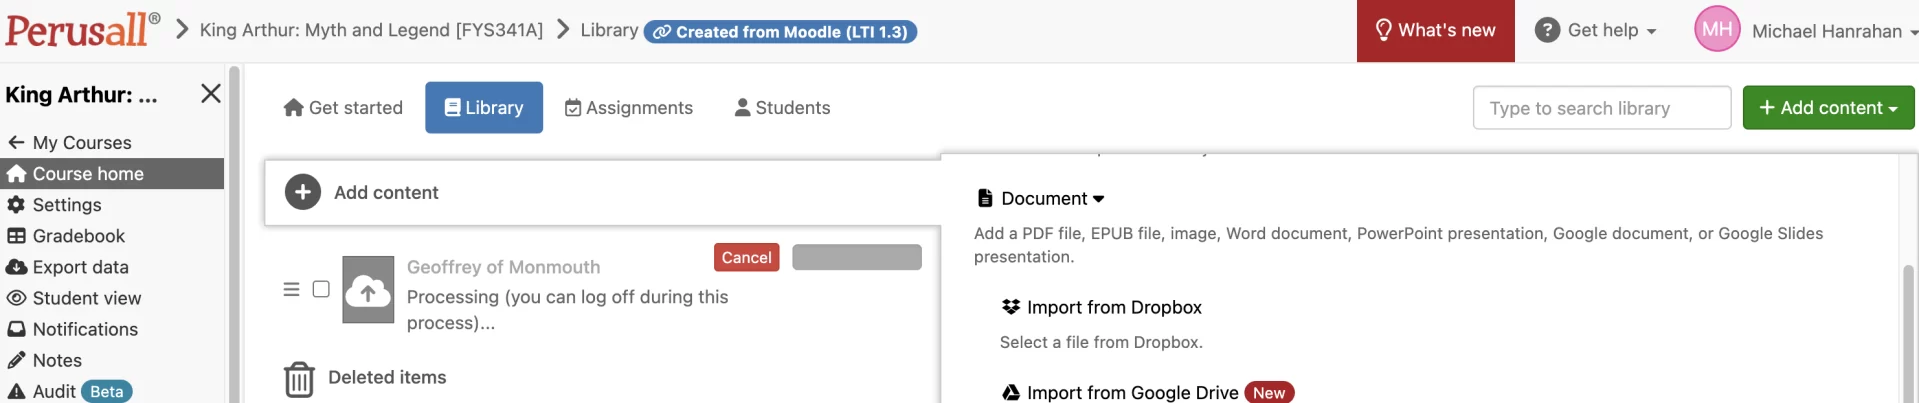
From the “Add content” menu, select “Document”:
Choose how you want to add the document/file to Perusall (“Upload from my device”):

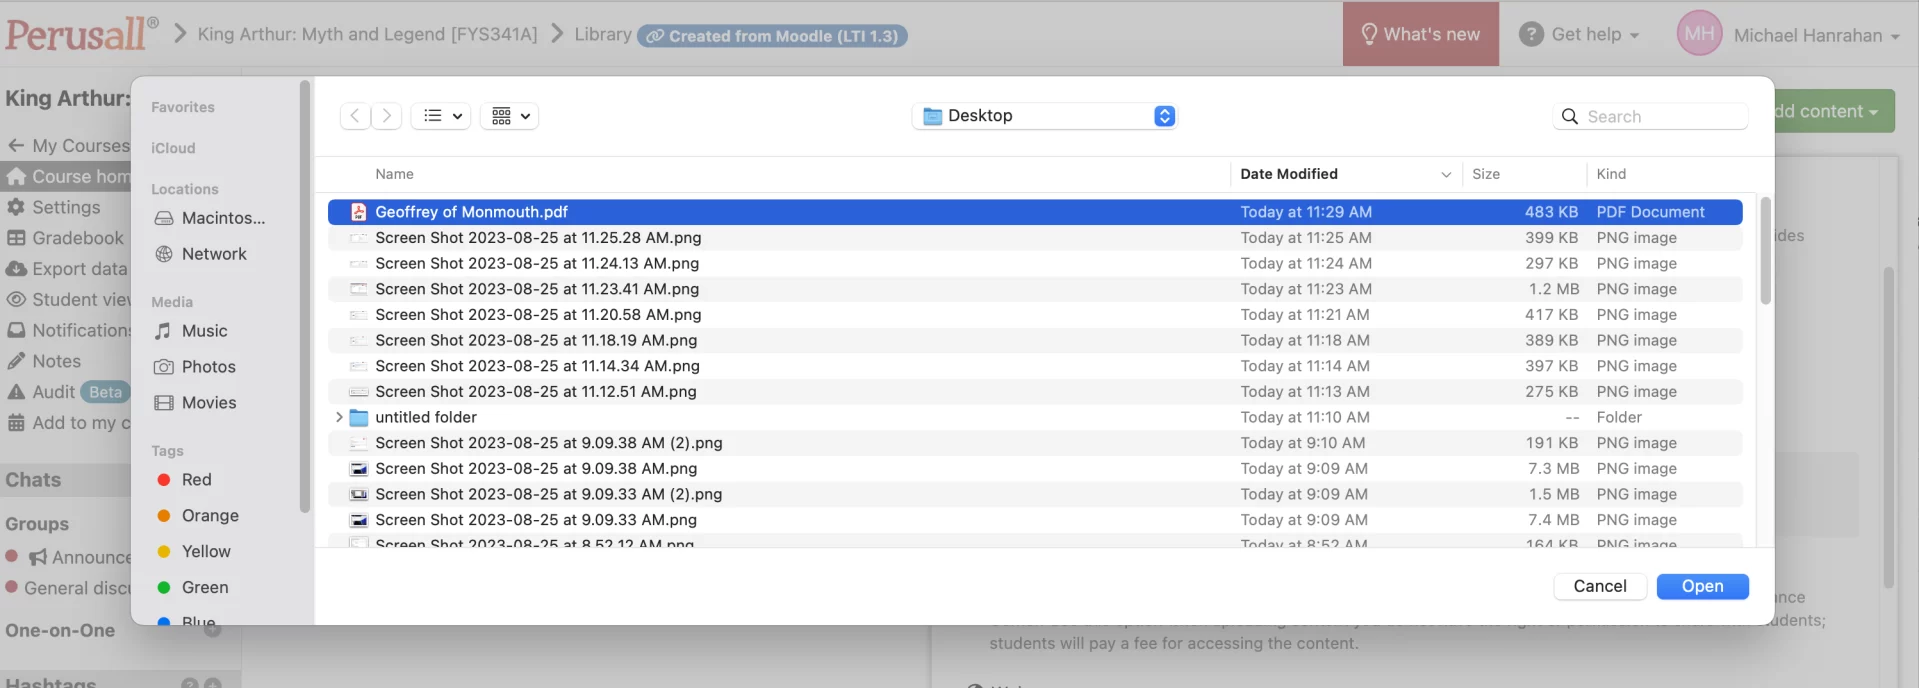
Select the file from your computer and “Open”:
Perusall shows the uploading and processing progress:
After your file has been successfully uploaded and processed, select the “Assignments” tab:
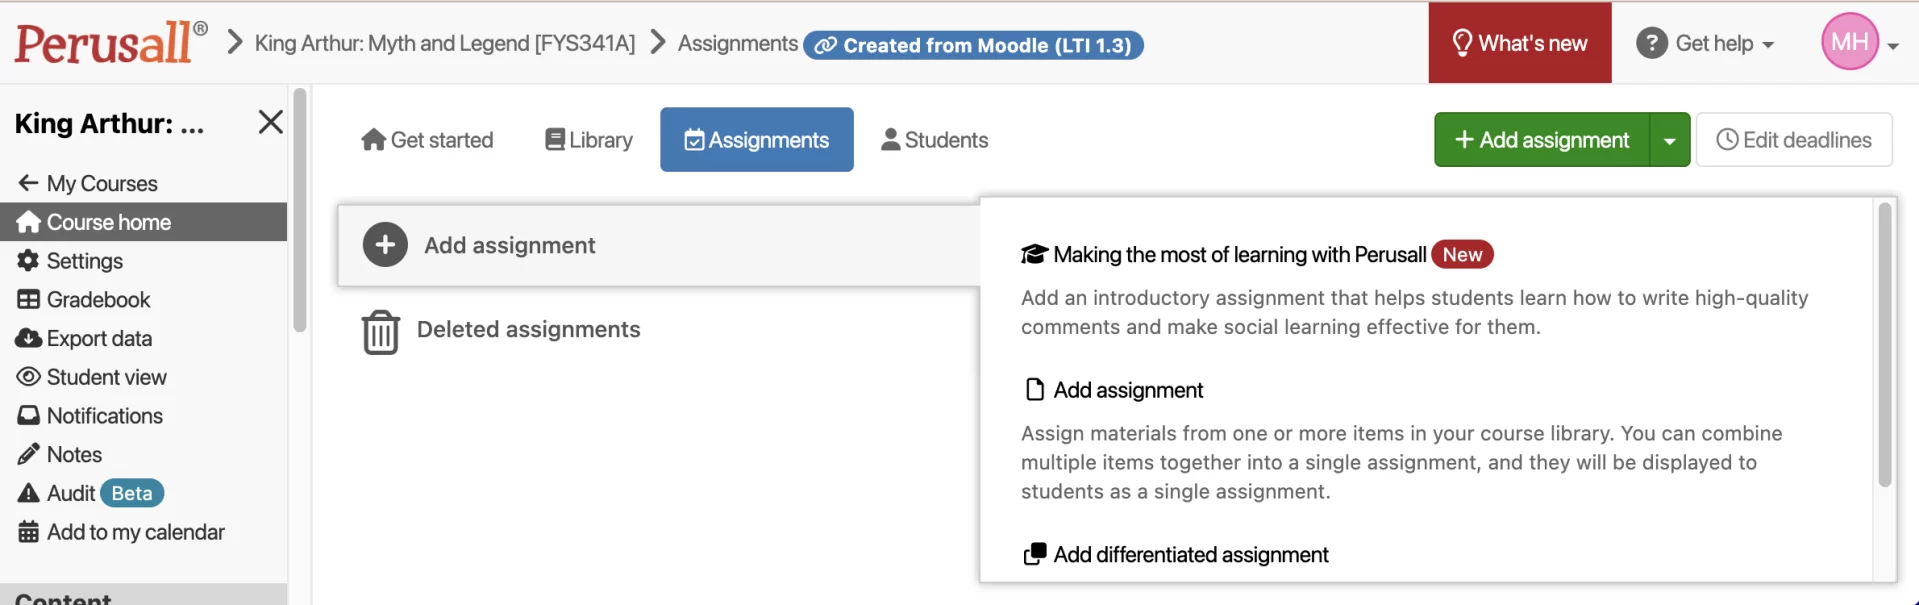
Creating an Assignment
From the “Add assignment” menu select “Add assignment”:
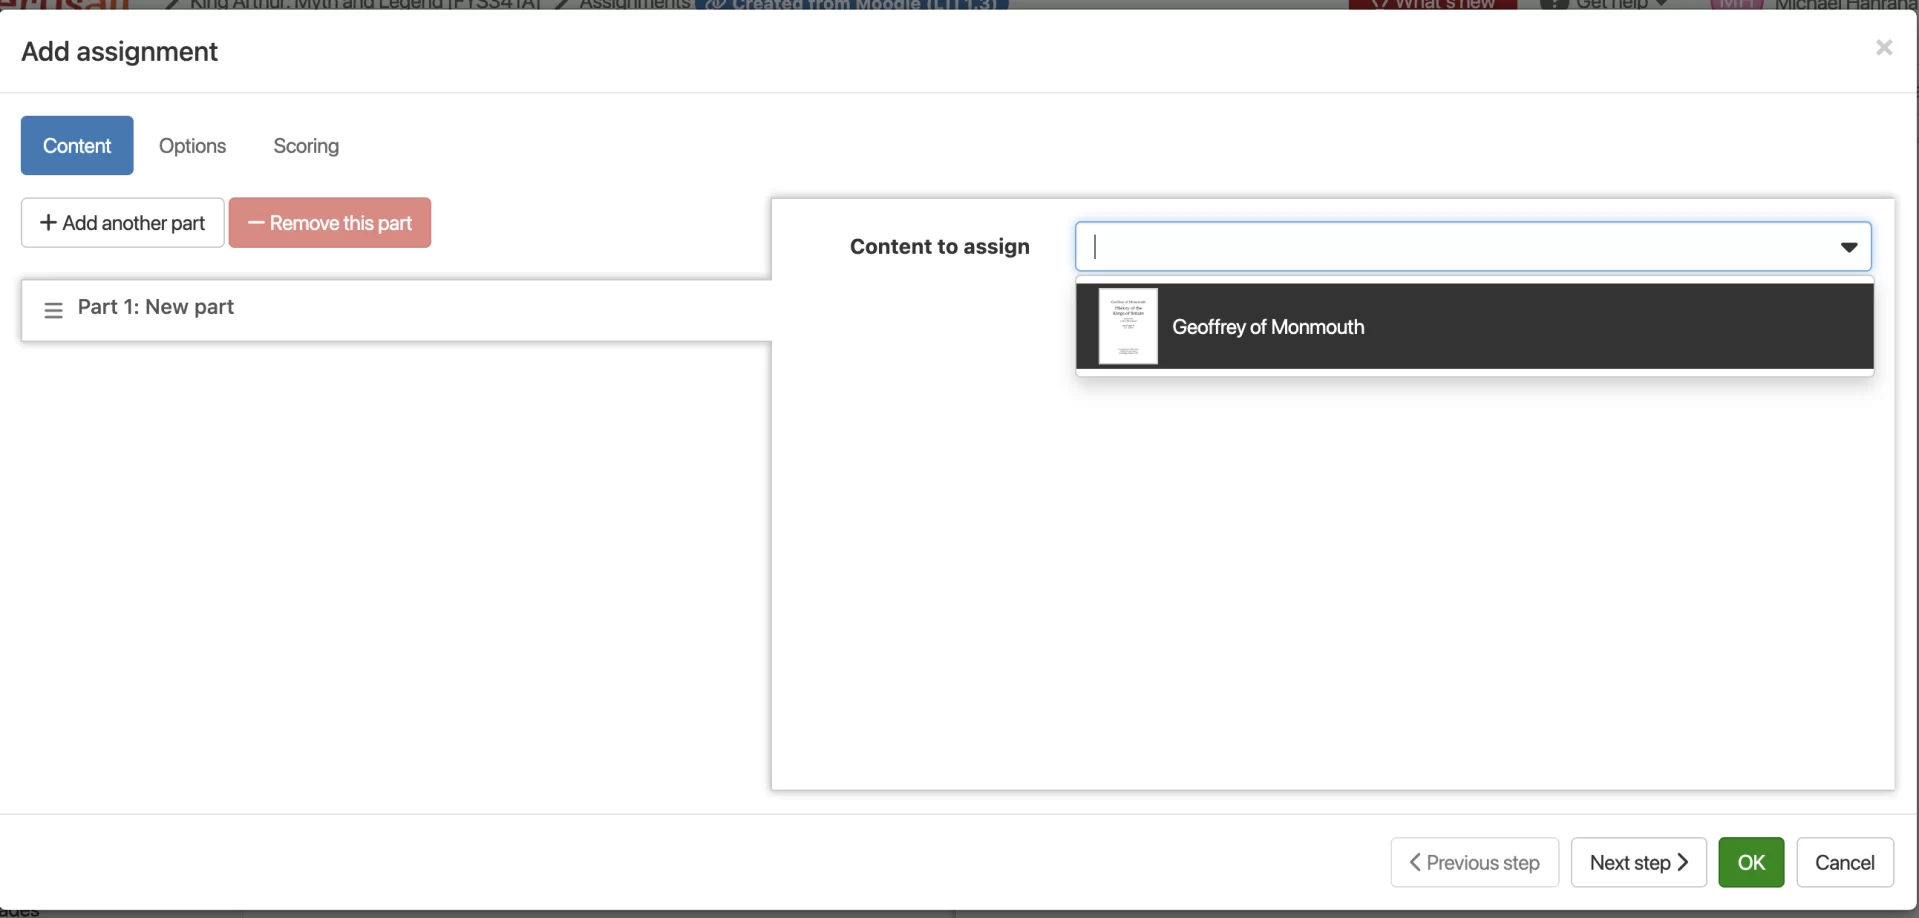
From the “Add assignment” window, select the file (previously uploaded) and select “OK”:
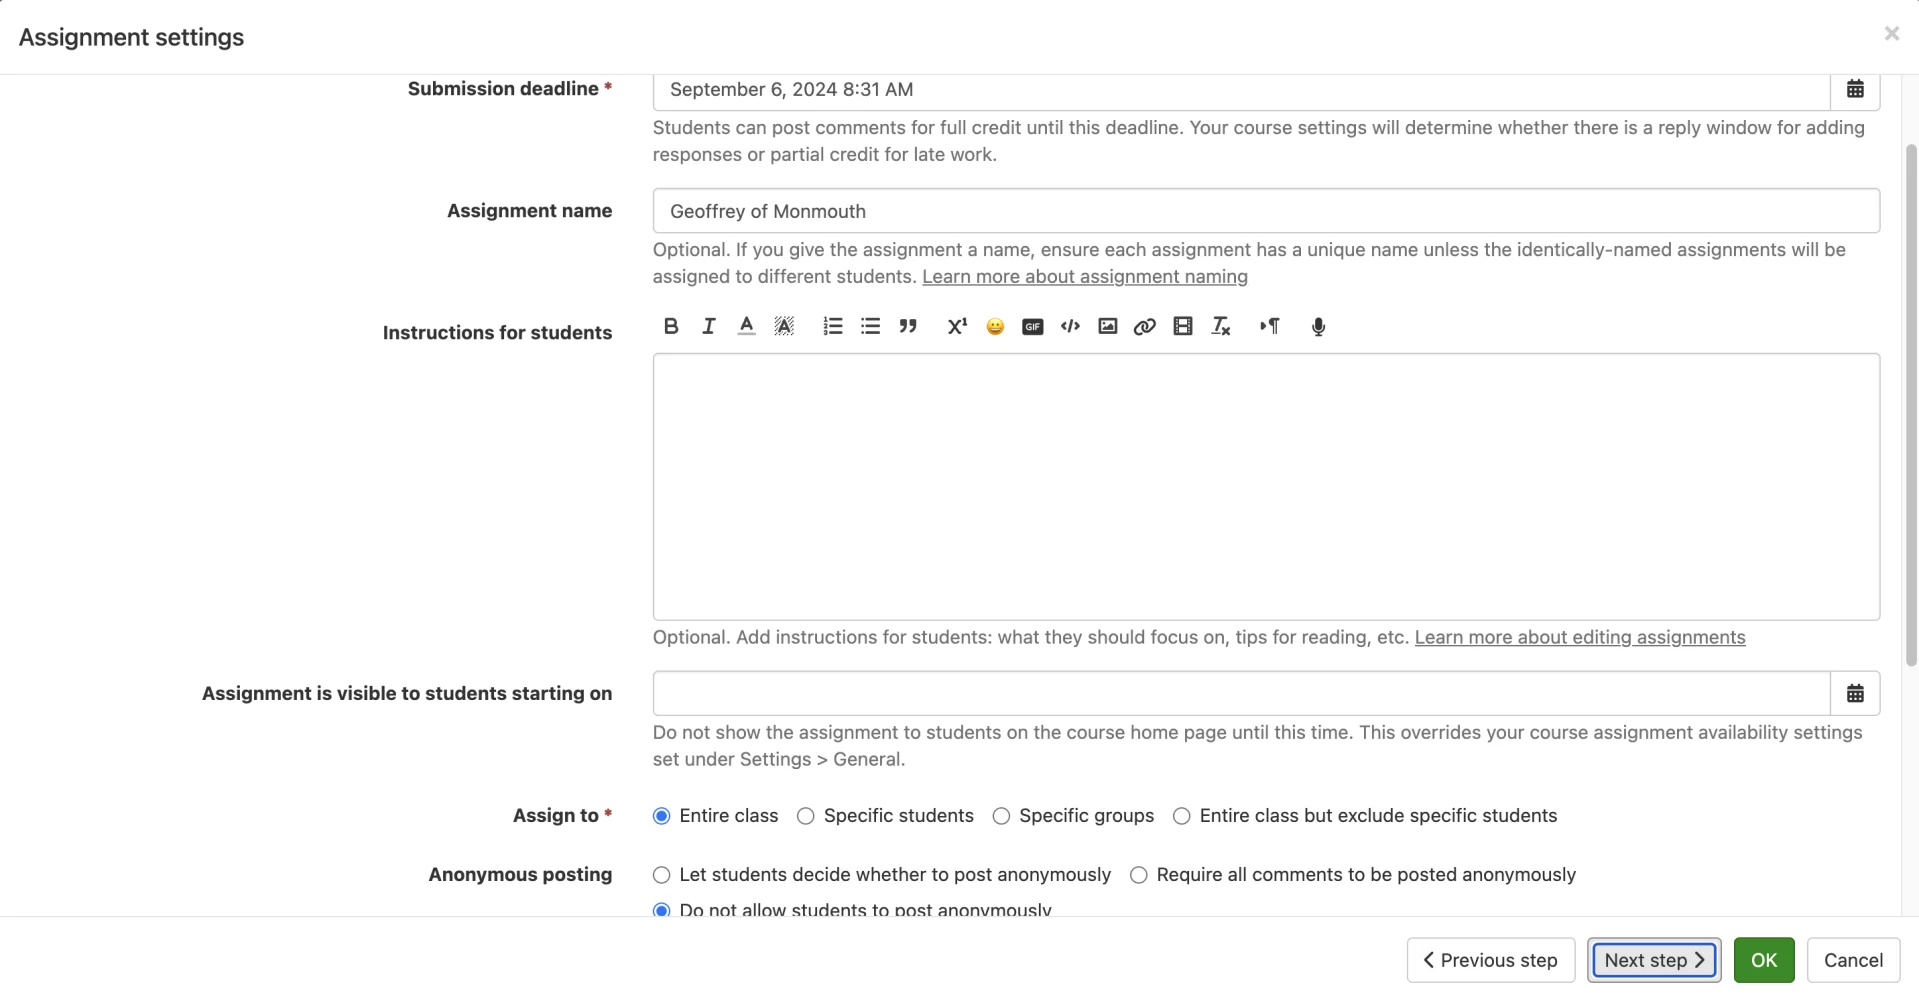
At “Options,” accept default settings if assigning the complete reading and select “Next step.” Select a “Submission deadline” and add an “Assignment name”. NB Be sure to review “Anonymous posting” setting, which by default allows students to submit anonymously. After choosing your assignment settings, click “Next step”:
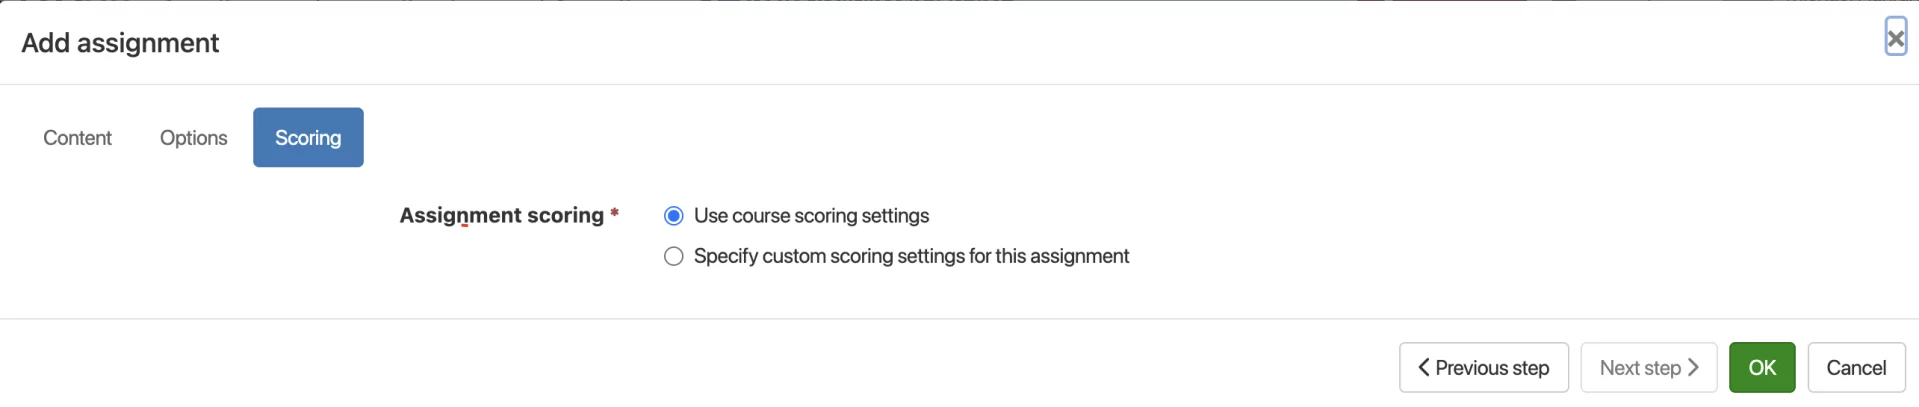
At the “Scoring” tab accept the default settings and click “Ok”:
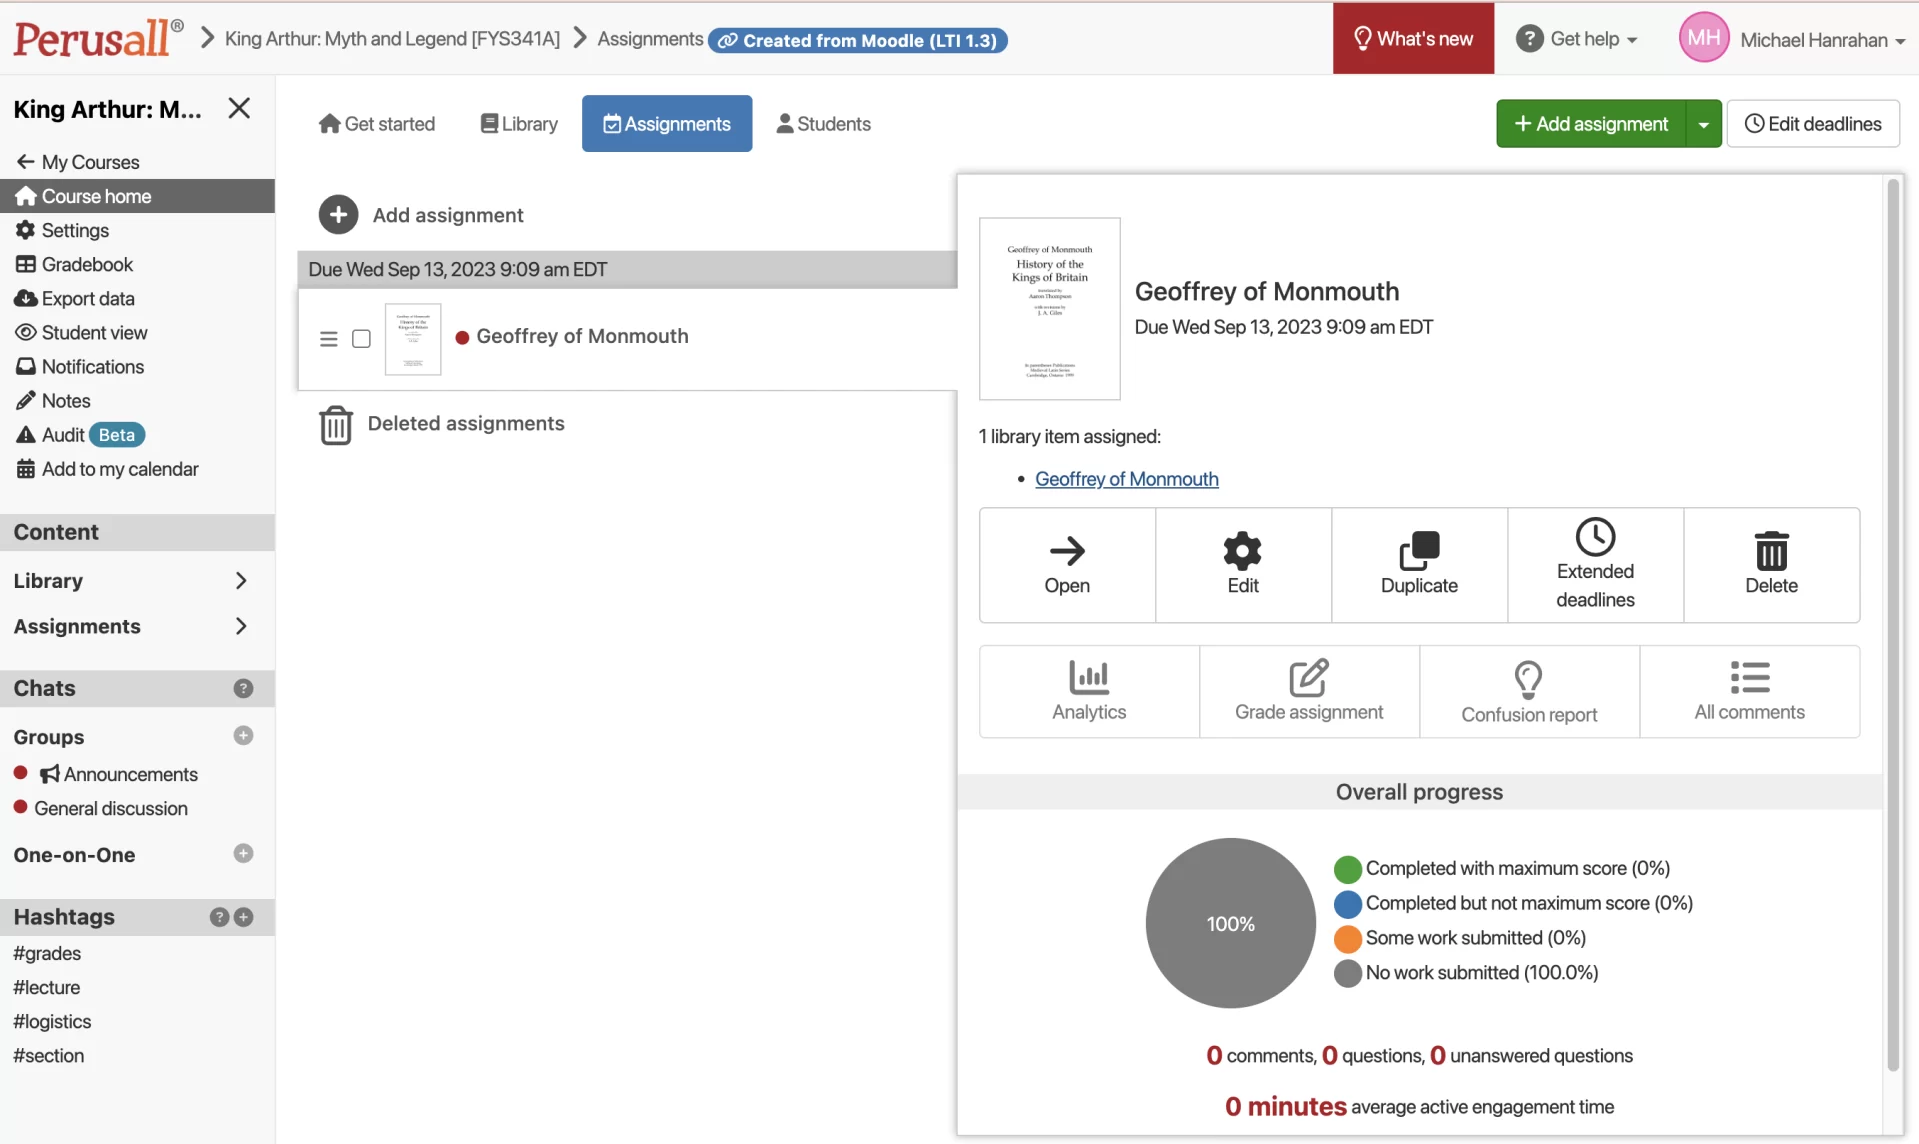
Your assignment is now created:
**For more detailed information on Perusall and its features, follow these help sheets and FAQs provided by Perusall Support: