Adding Annotations, Part I
*Note* The interface and features of Perusall may change over time without much advance notice. Please check out their ‘Changelog‘ for updates, improvements, and fixes.
Once you have material uploaded to your Perusall course and have created assignment(s) (see A Quick Guide to Perusall), you and your students can begin to annotate the resource.
From Lyceum, follow the link to Perusall:
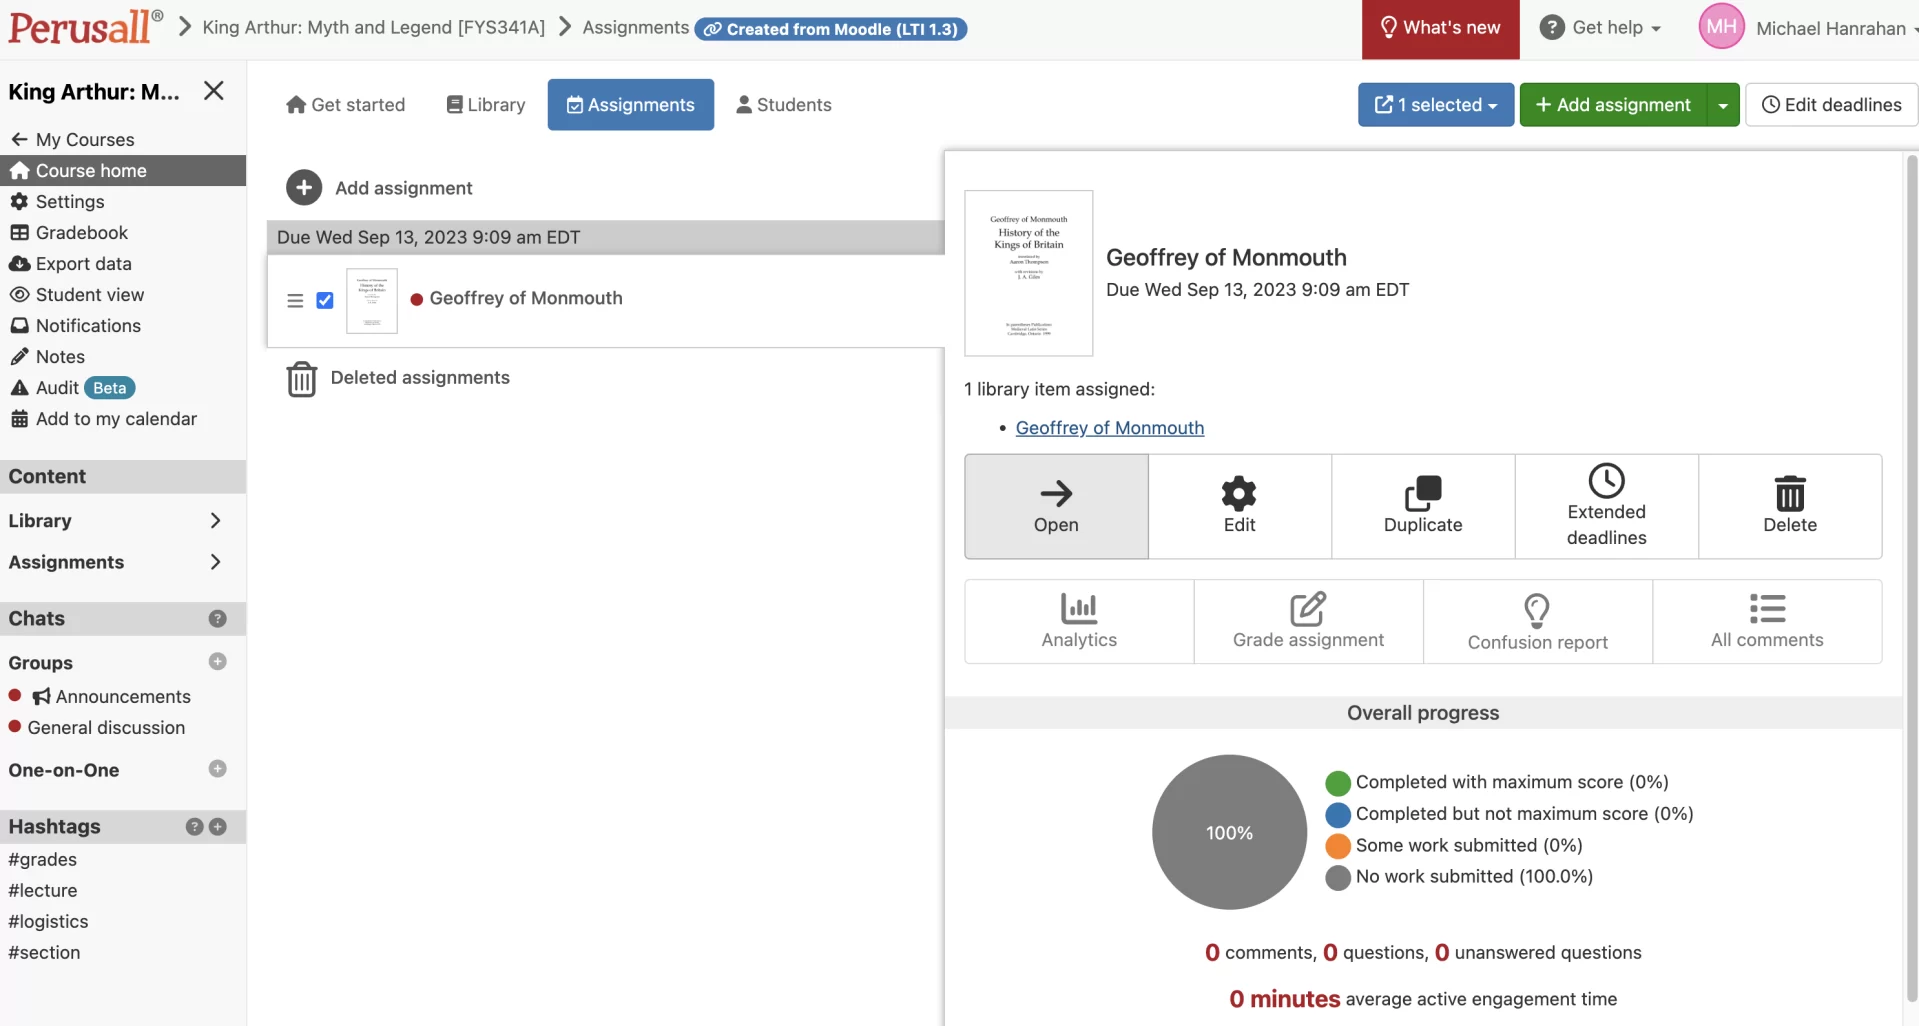
Select “Assignments” tab, choose your document and select “Open”:
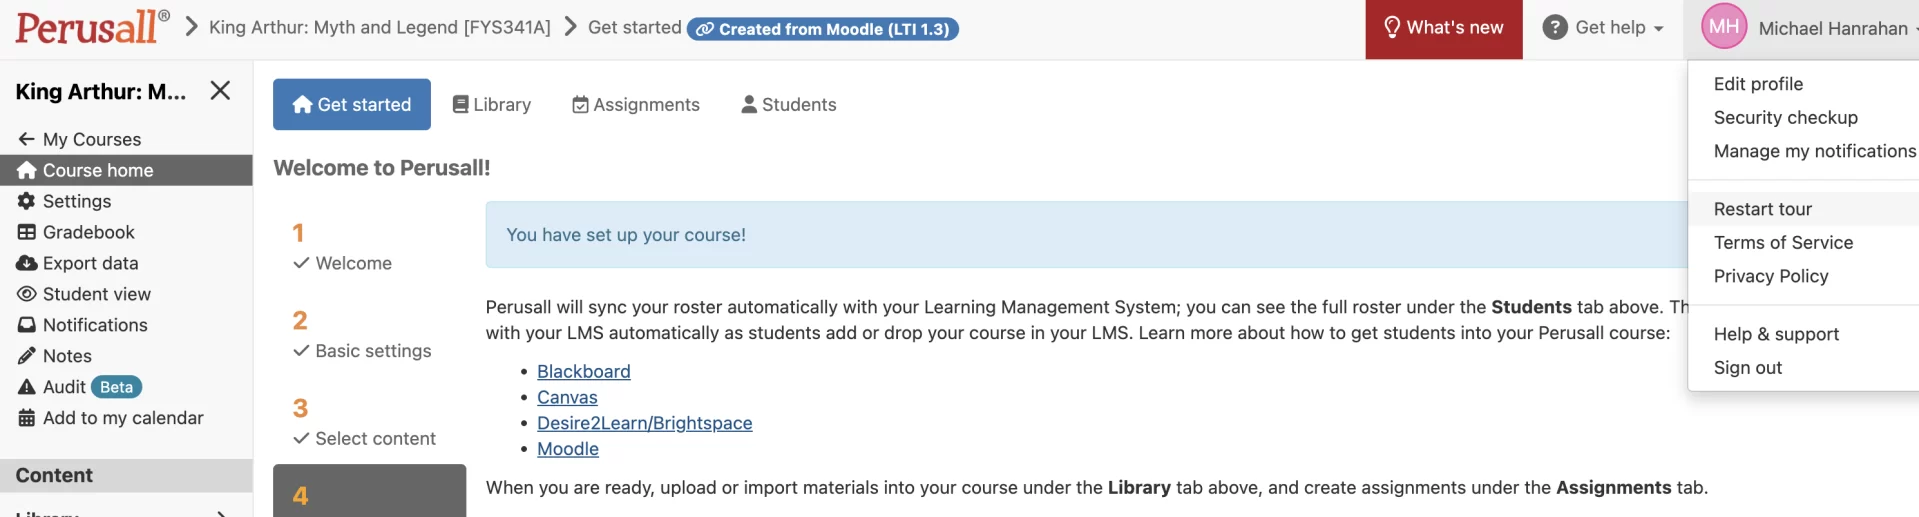
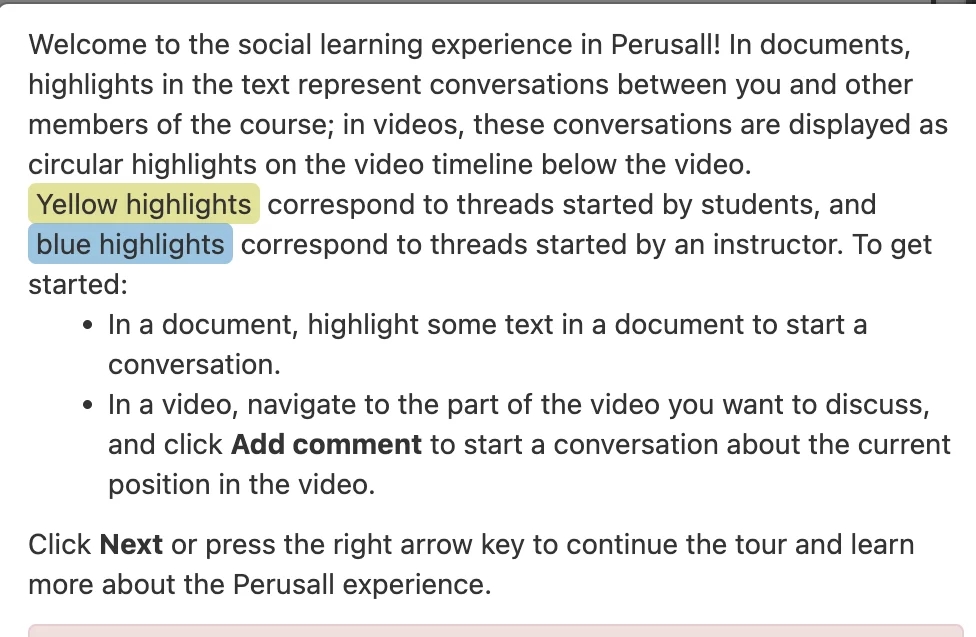
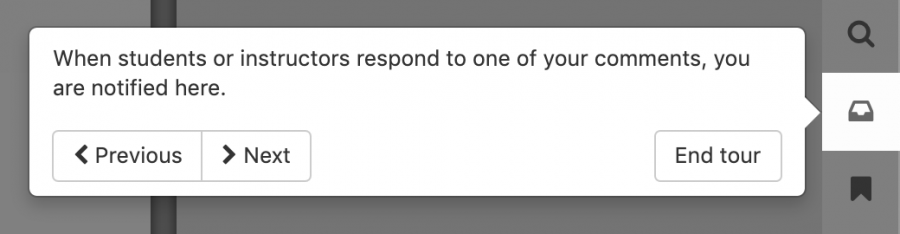
The first time you open an assignment, the system will provide a “Tour” (you can review the tour at any time by selecting “Restart tour” from under your “Profile” menu):
Annotating in Brief
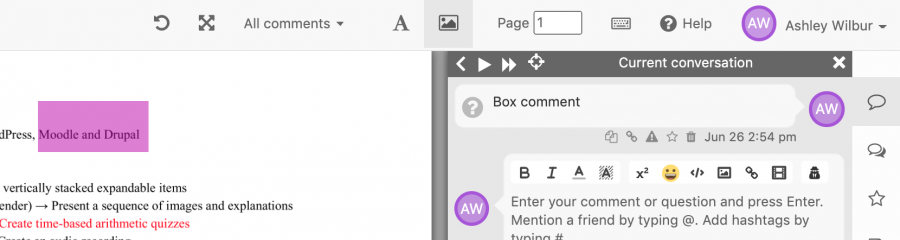
To annotate a document, open it and drag your cursor over the selected text to highlight.
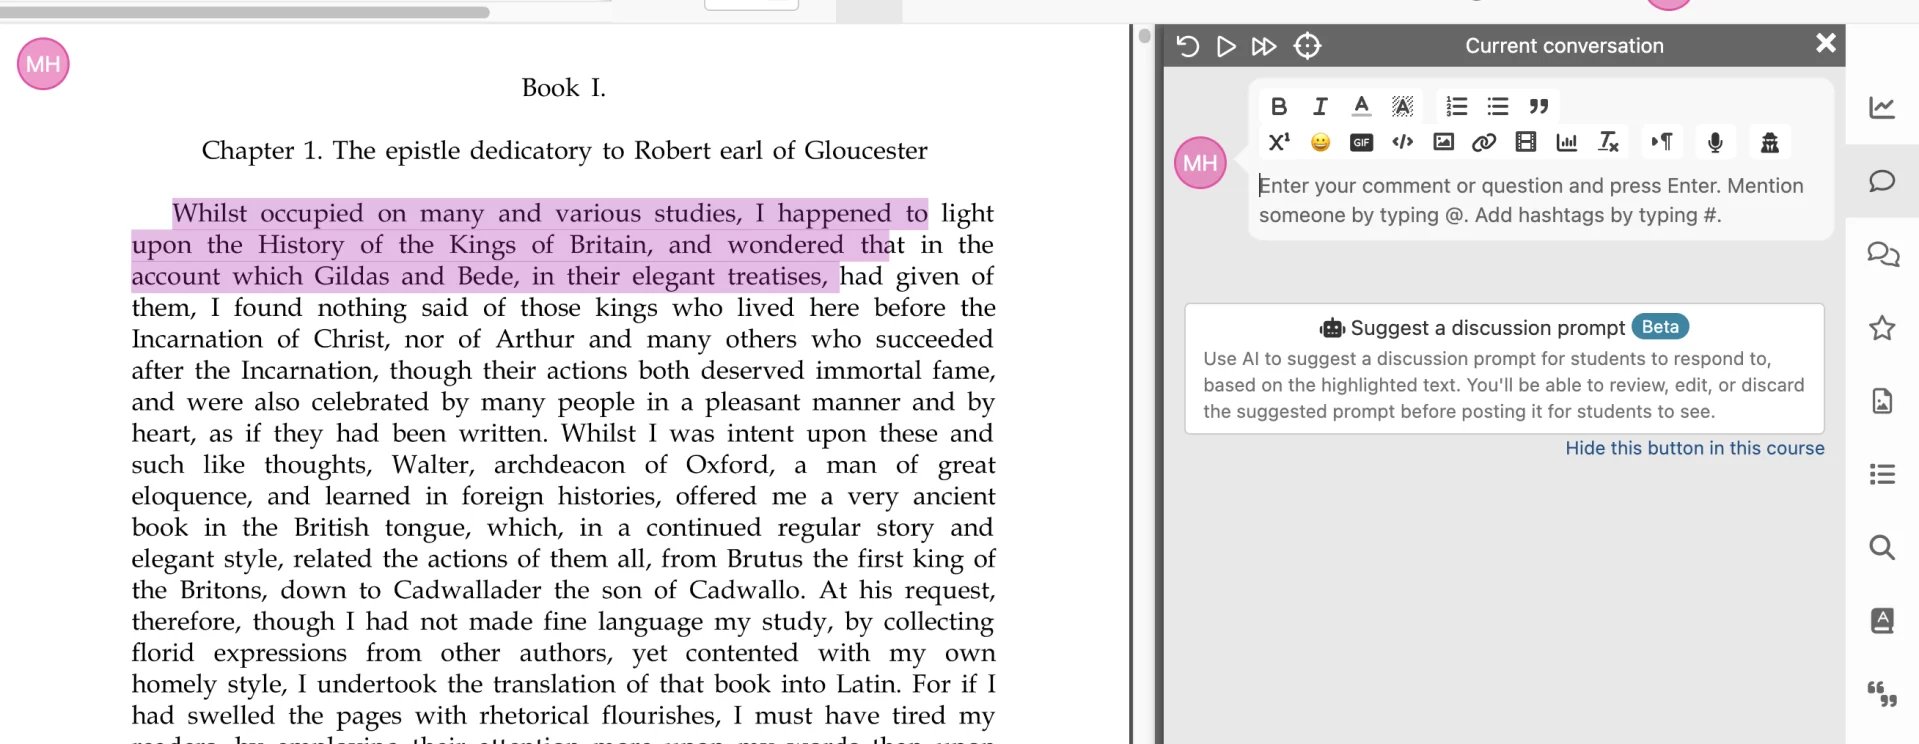
The selected text to be annotated is highlighted in pink and the conversation dialogue box allows you to enter your comments. (The current version of Perusall includes optional AI generated discussion prompts. You can elect to disable this tool by choosing “Hide this button in this course”). Your comments can serve as discussion prompts, notes, links to additional background materials, etc.
As the instructor and students add annotations, the students’ highlights appear in yellow and the instructors’ in blue:
The students’ annotations are tracked by Perusall and ultimately assessed. The grade for each assessment is added to the Lyceum Gradebook. (See Perusall Grading).
For additional details on annotation, see a Perusall Annotations, Part II
Key to Commonly Used Icons
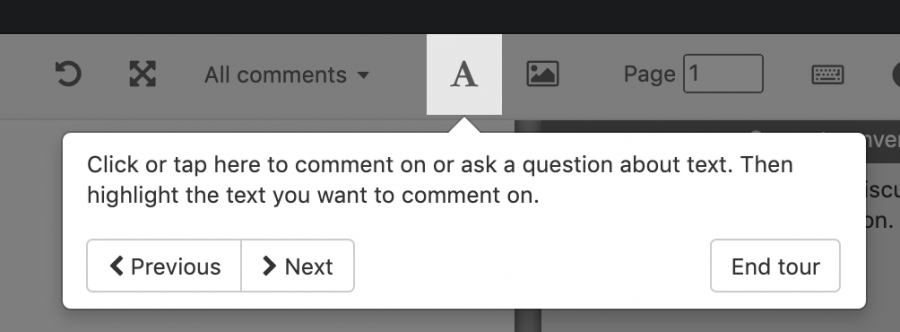
Annotate text:
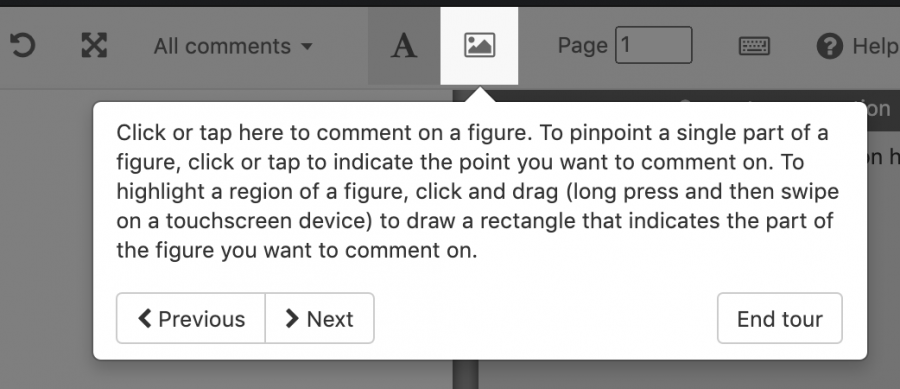
Annotate a figure or image:
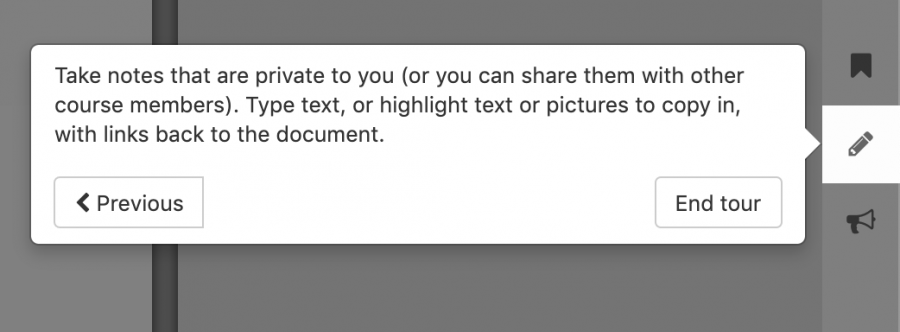
Take Notes (separate activity and engagement from Annotation):
View Comments
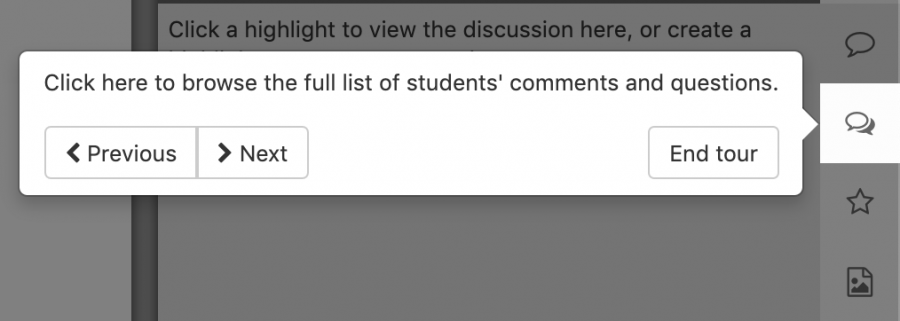
View Comments:
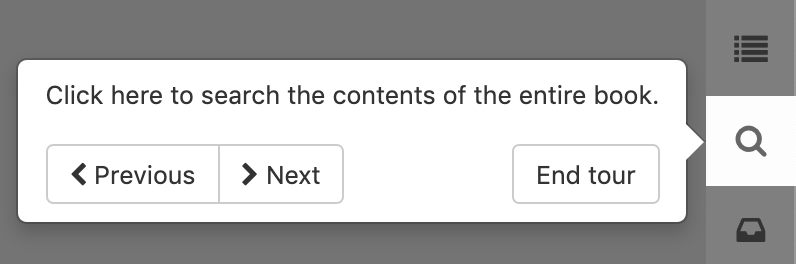
Search:
Notifications:
Annotating Details
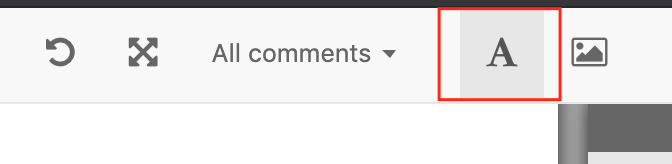
By default, Perusall will have you highlighting the text within the document when this icon is highlight at the top of your page:
There is also a way to highlight sections of the document by dragging and drawing a box. This is good for documents that may not be processed correctly through Perusall and do not allow you to highlight to text, or for images/diagrams within an article or e-book:

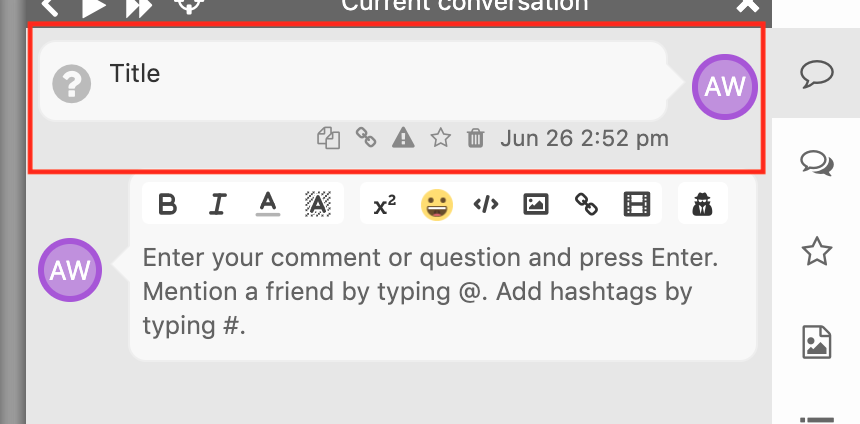
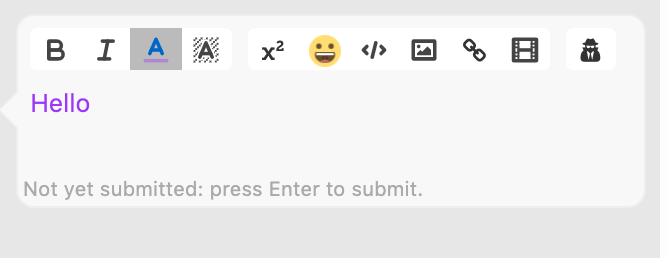
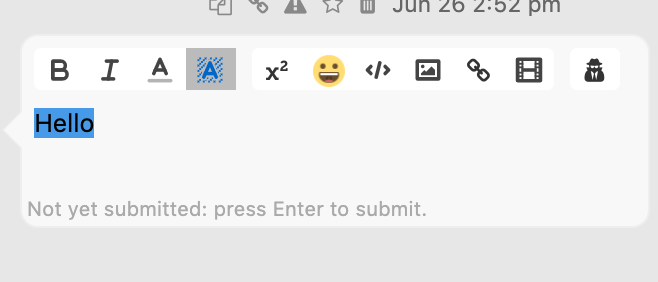
To create a comment, highlight the text or section you would like to add it to. On the right hand corner, you will see a chat bubble with your initials next to it. To add text, click on the chat bubble and type your comment. When you are done, press the ‘return’ or ‘enter’ key to save your text. For the example below, ‘Title’ was comment and saved by pressing the ‘return’ key. Below the original comment, Perusall allows the user the ability to add another comment to the same highlighted text or section. To edit the original comment, select the word ‘Title’ and the HTML edit box will appear
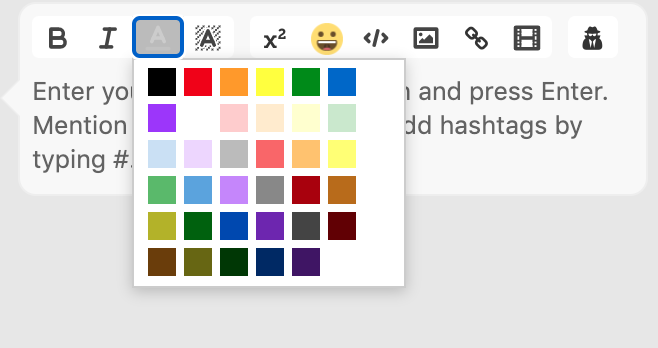
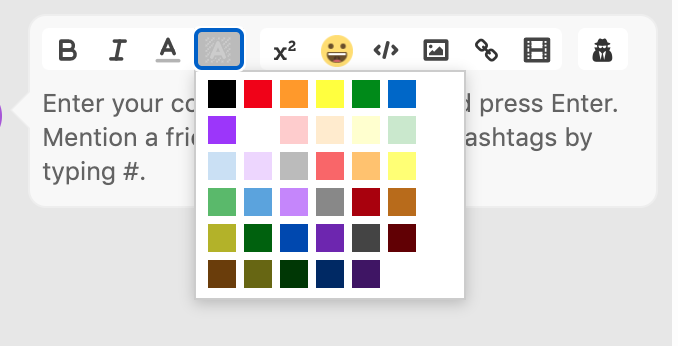
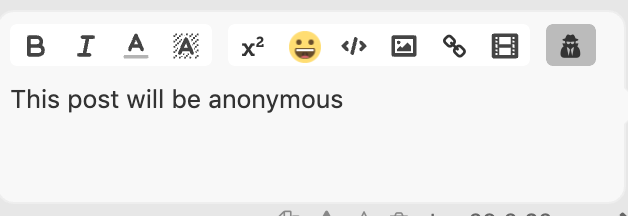
This HTML box will allow you to customize your comments by:
- Bold/Italic Fonts
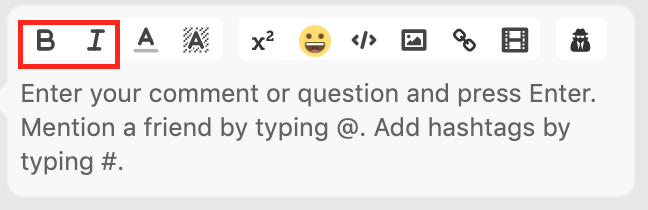
- Different Text Colors
- Different Text Background Colors
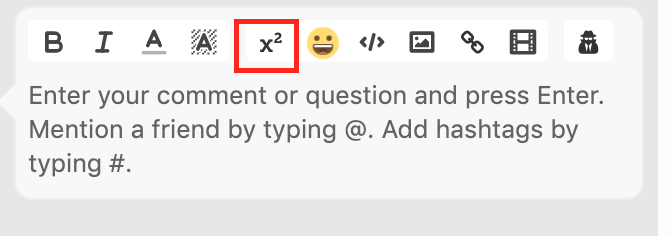
- Adding Latex

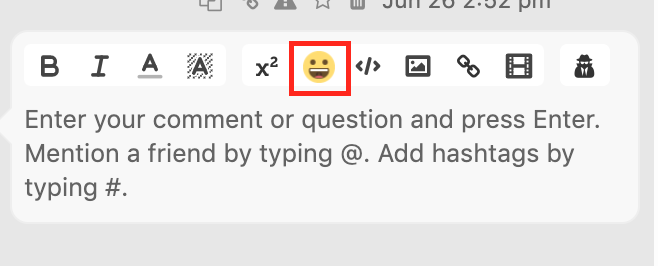
- Adding Emojis

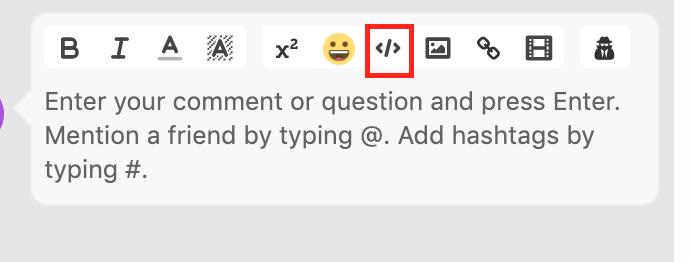
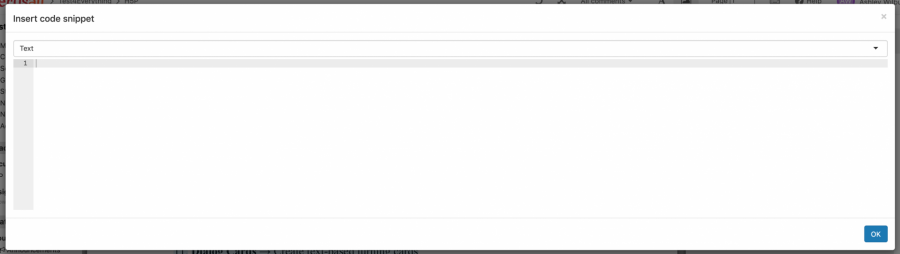
- Inserting Code
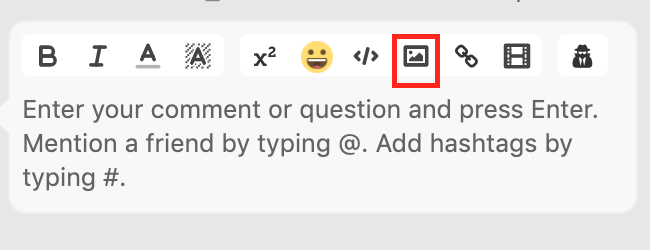
- Adding Images
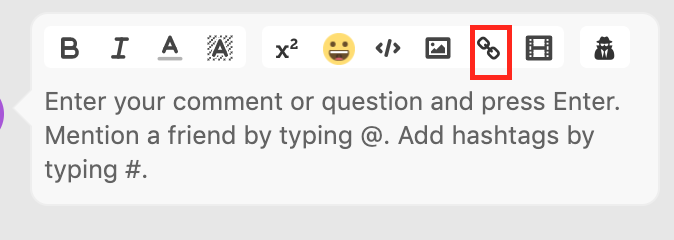
- Linking Other URLs


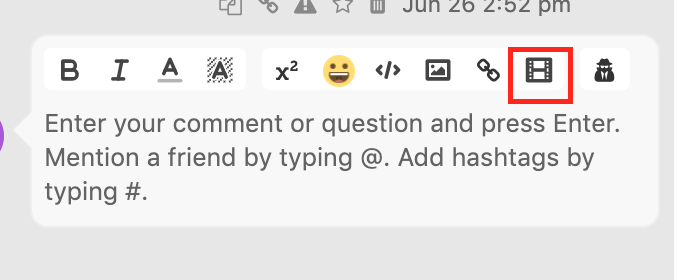
- Adding Videos

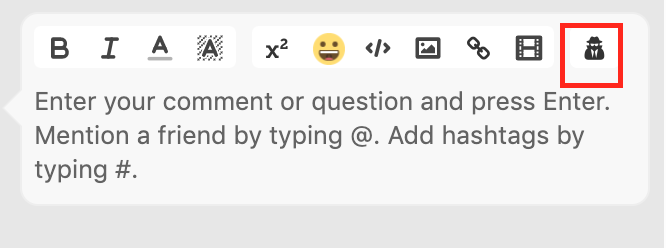
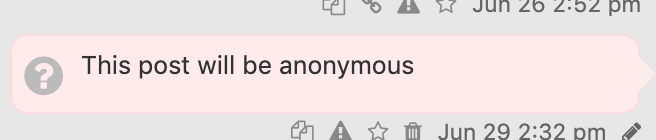
- Posting Comments Anonymously
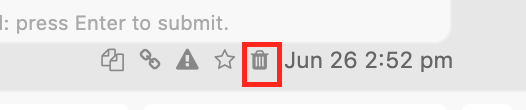
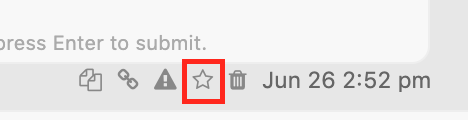
The icons under your comment bubbles also allow for different abilities, such as copying a comment, copying threads in a comment, flagging a comment, staring a comment, and deleting a comment

To delete a comment, select the trash icon underneath the comment bubble:
To star a comment, select the start icon:
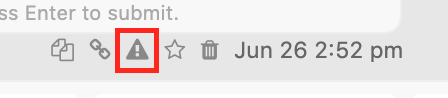
To flag a comment as inappropriate or plagiarism, select the triangle icon:
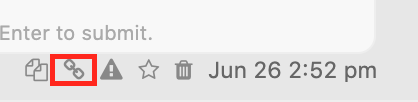
To copy comment threads, select the link icon:
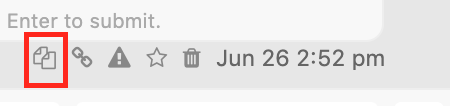
To copy a comment, select the paper icon:
**For more information on how to add text to your Perusall site, follow these help sheets:
- How do I review student work?
- Can I add comments or questions directed to students?
- How does the student activity report work?
- Can students post comments anonymously?
- How does Perusall help promote academic integrity in my course?
- Can I review the comments from a single student?
- Can I create different assignments for different students?
- Can I allow students to download the readings?
- Perusall Assignment Support